Natural light is one of the most powerful tools a photographer can use. When used correctly, it can transform an ordinary shot into a breathtaking portrait that feels both alive and full of emotion. The right natural light can match the mood you're aiming for, whether it’s a soft, romantic vibe or a sharp, dramatic look.
In this article, I'll show you some key tips to make sure you're using natural light to its fullest potential. We'll go over how to choose the best times and locations, and how to position your subjects to capture the kind of shots that'll really stand out. Let’s get your photos looking their best with nothing but the sun and a few simple tricks.
Understanding Natural Light
Getting to know the different types of natural light and how they affect your photos is key to becoming a better photographer. Here’s a quick rundown of the times of day you might want to grab your camera and head out:
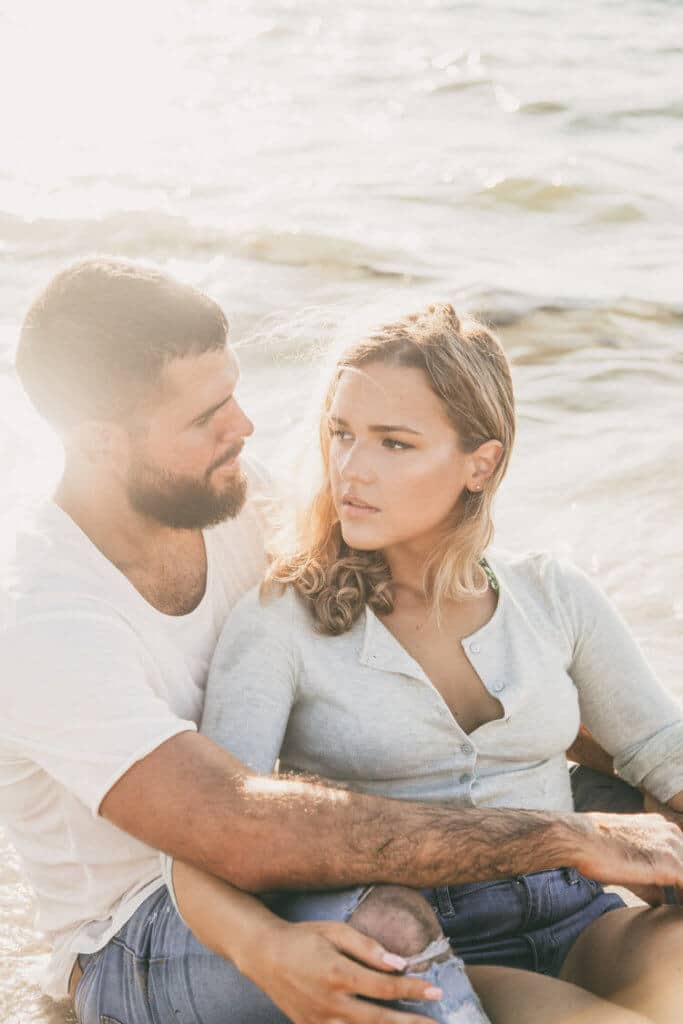
Golden Hour
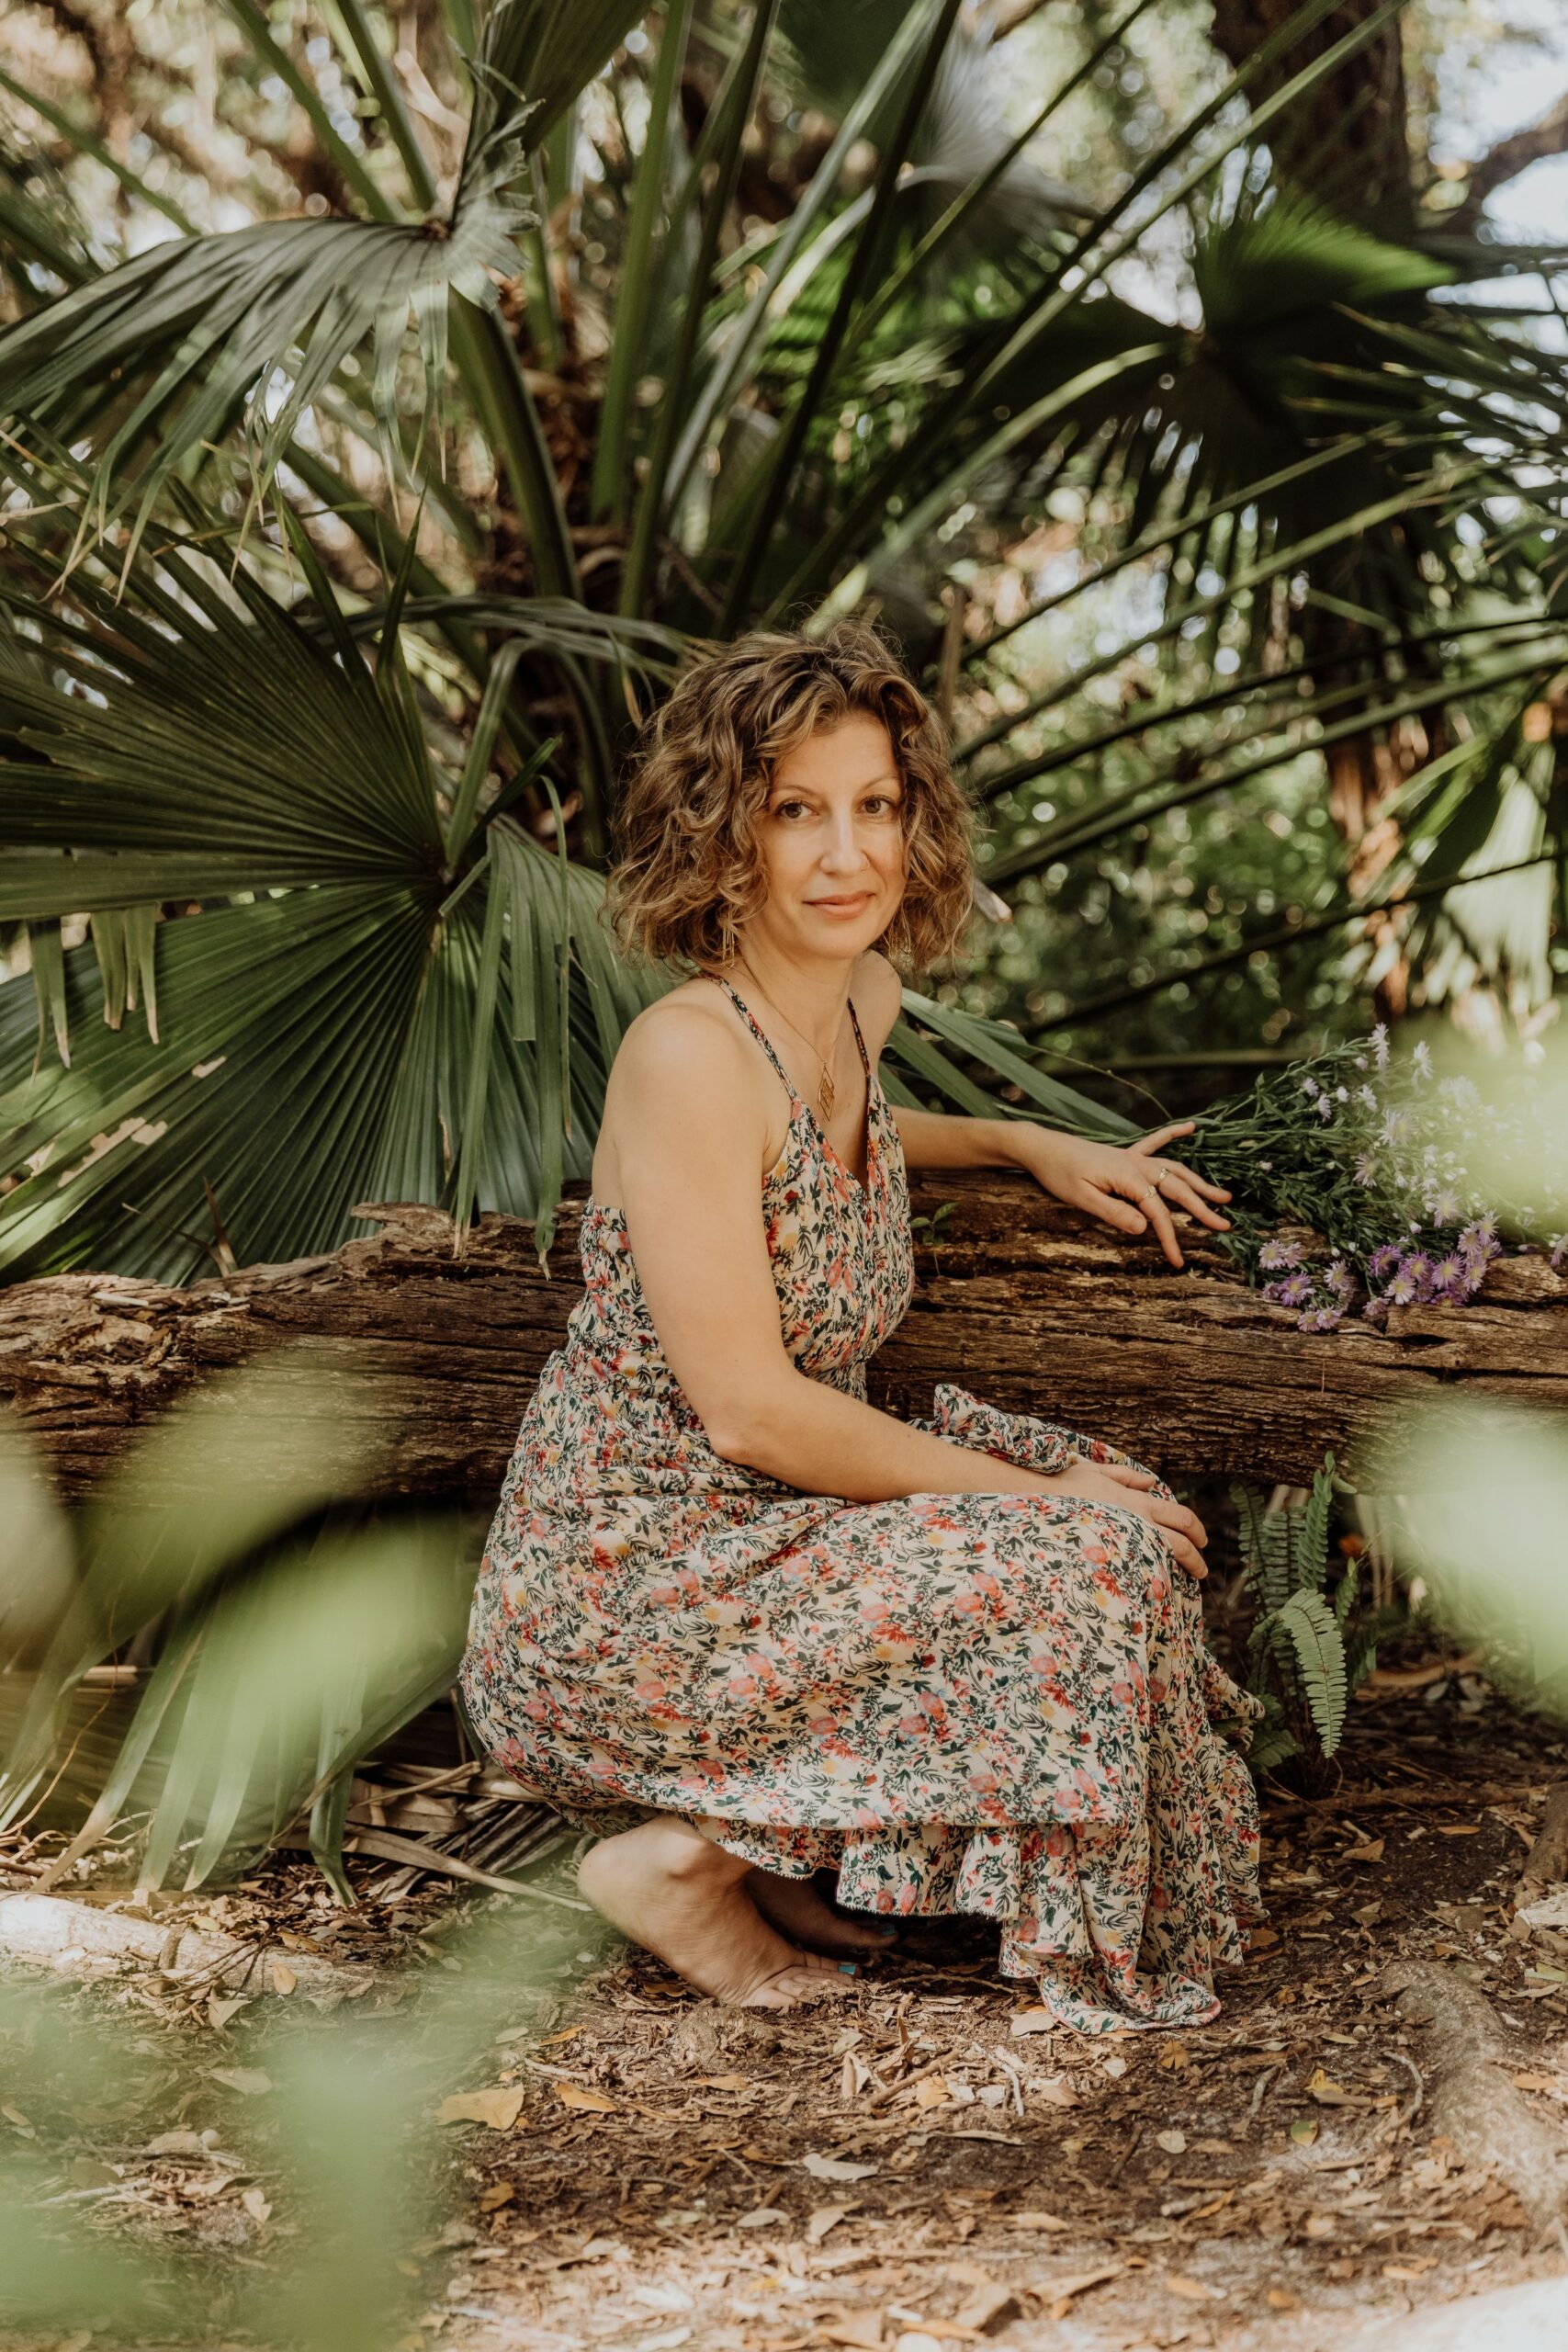
This is the first hour after sunrise and the last hour before sunset. The light is soft, warm, and flattering, making it a favorite among photographers. It casts long, gentle shadows and gives skin a beautiful, glowy look. If you're aiming for that whimsical, romantic vibe, golden hour is your best bet.
Blue Hour
Happens just before sunrise and just after sunset. The light is cool and ethereal, which can add a mysterious or tranquil feel to your portraits. It’s less about the warmth and more about the mood, perfect for capturing shots that feel a bit more introspective or serene.
Overcast Skies
Don't underestimate cloudy days. The clouds act like a giant softbox, diffusing the sunlight and eliminating harsh shadows. This can be great for when you want really even lighting and don't have to worry about intense highlights or deep shadows on your subject’s face.

Choosing the Right Time and Place
While we've discussed the best times to shoot, such as early morning and late afternoon during the golden and blue hours, selecting the right location is equally crucial to capturing beautiful natural light portraits.
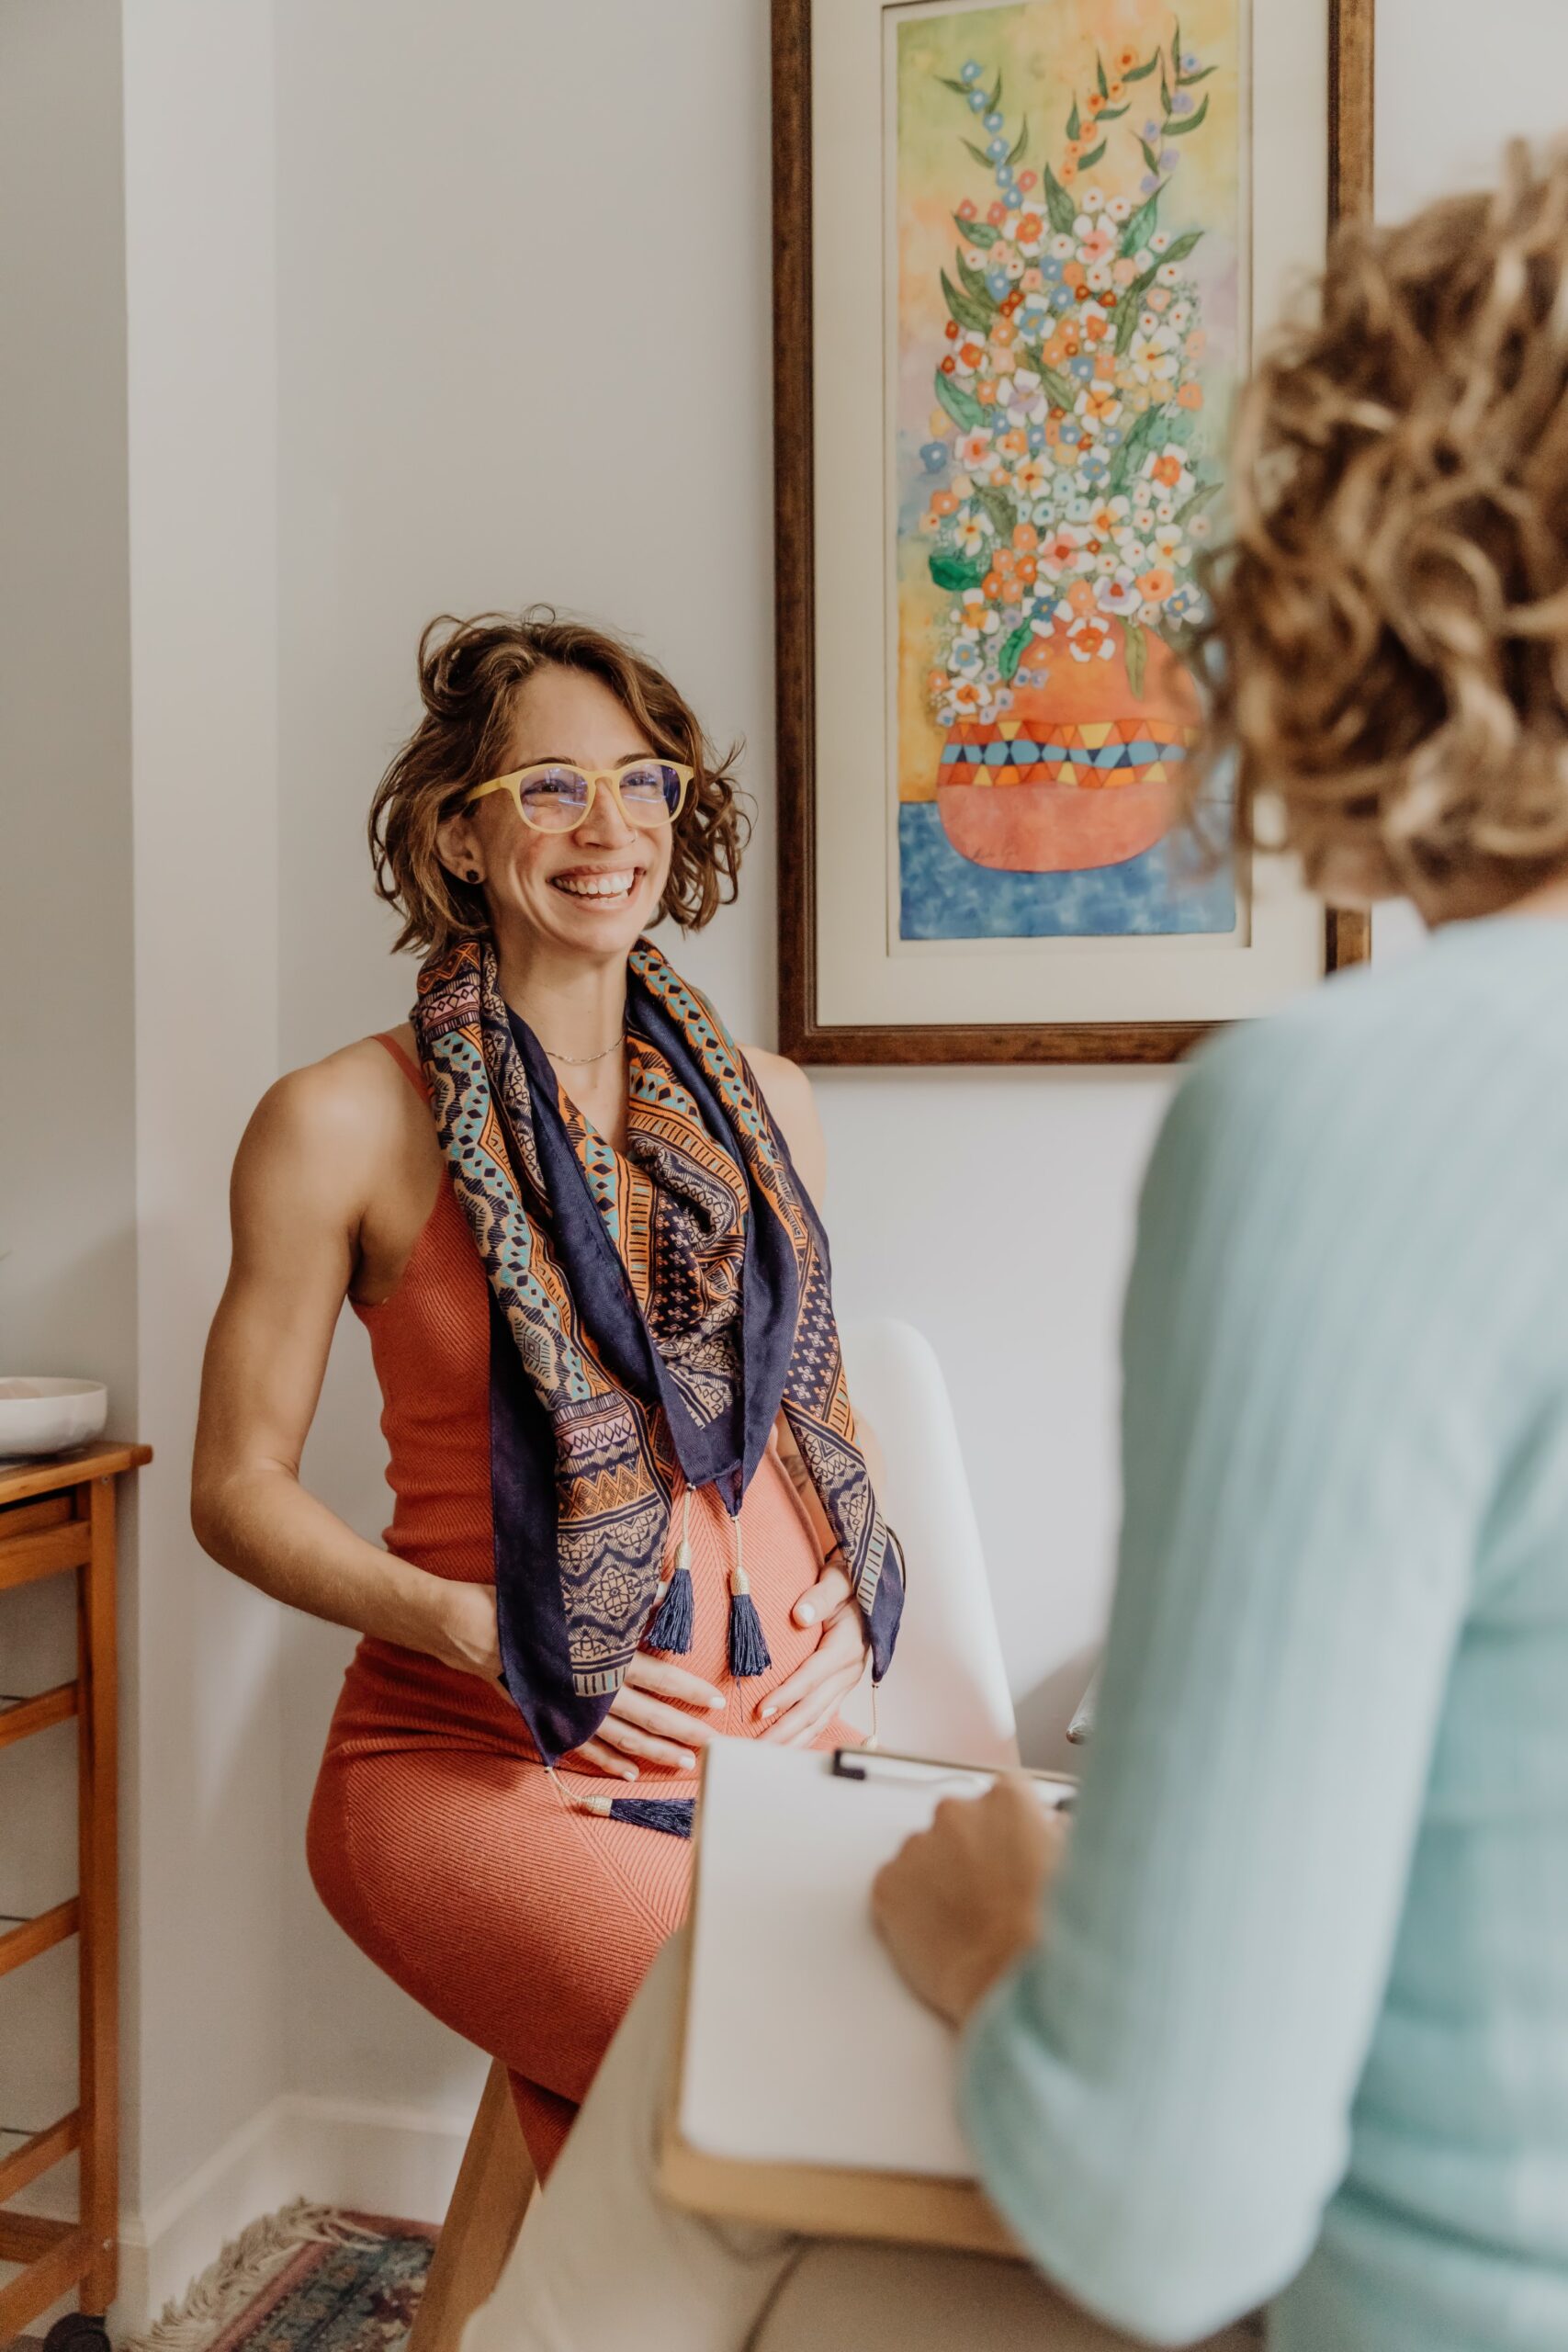
Indoors
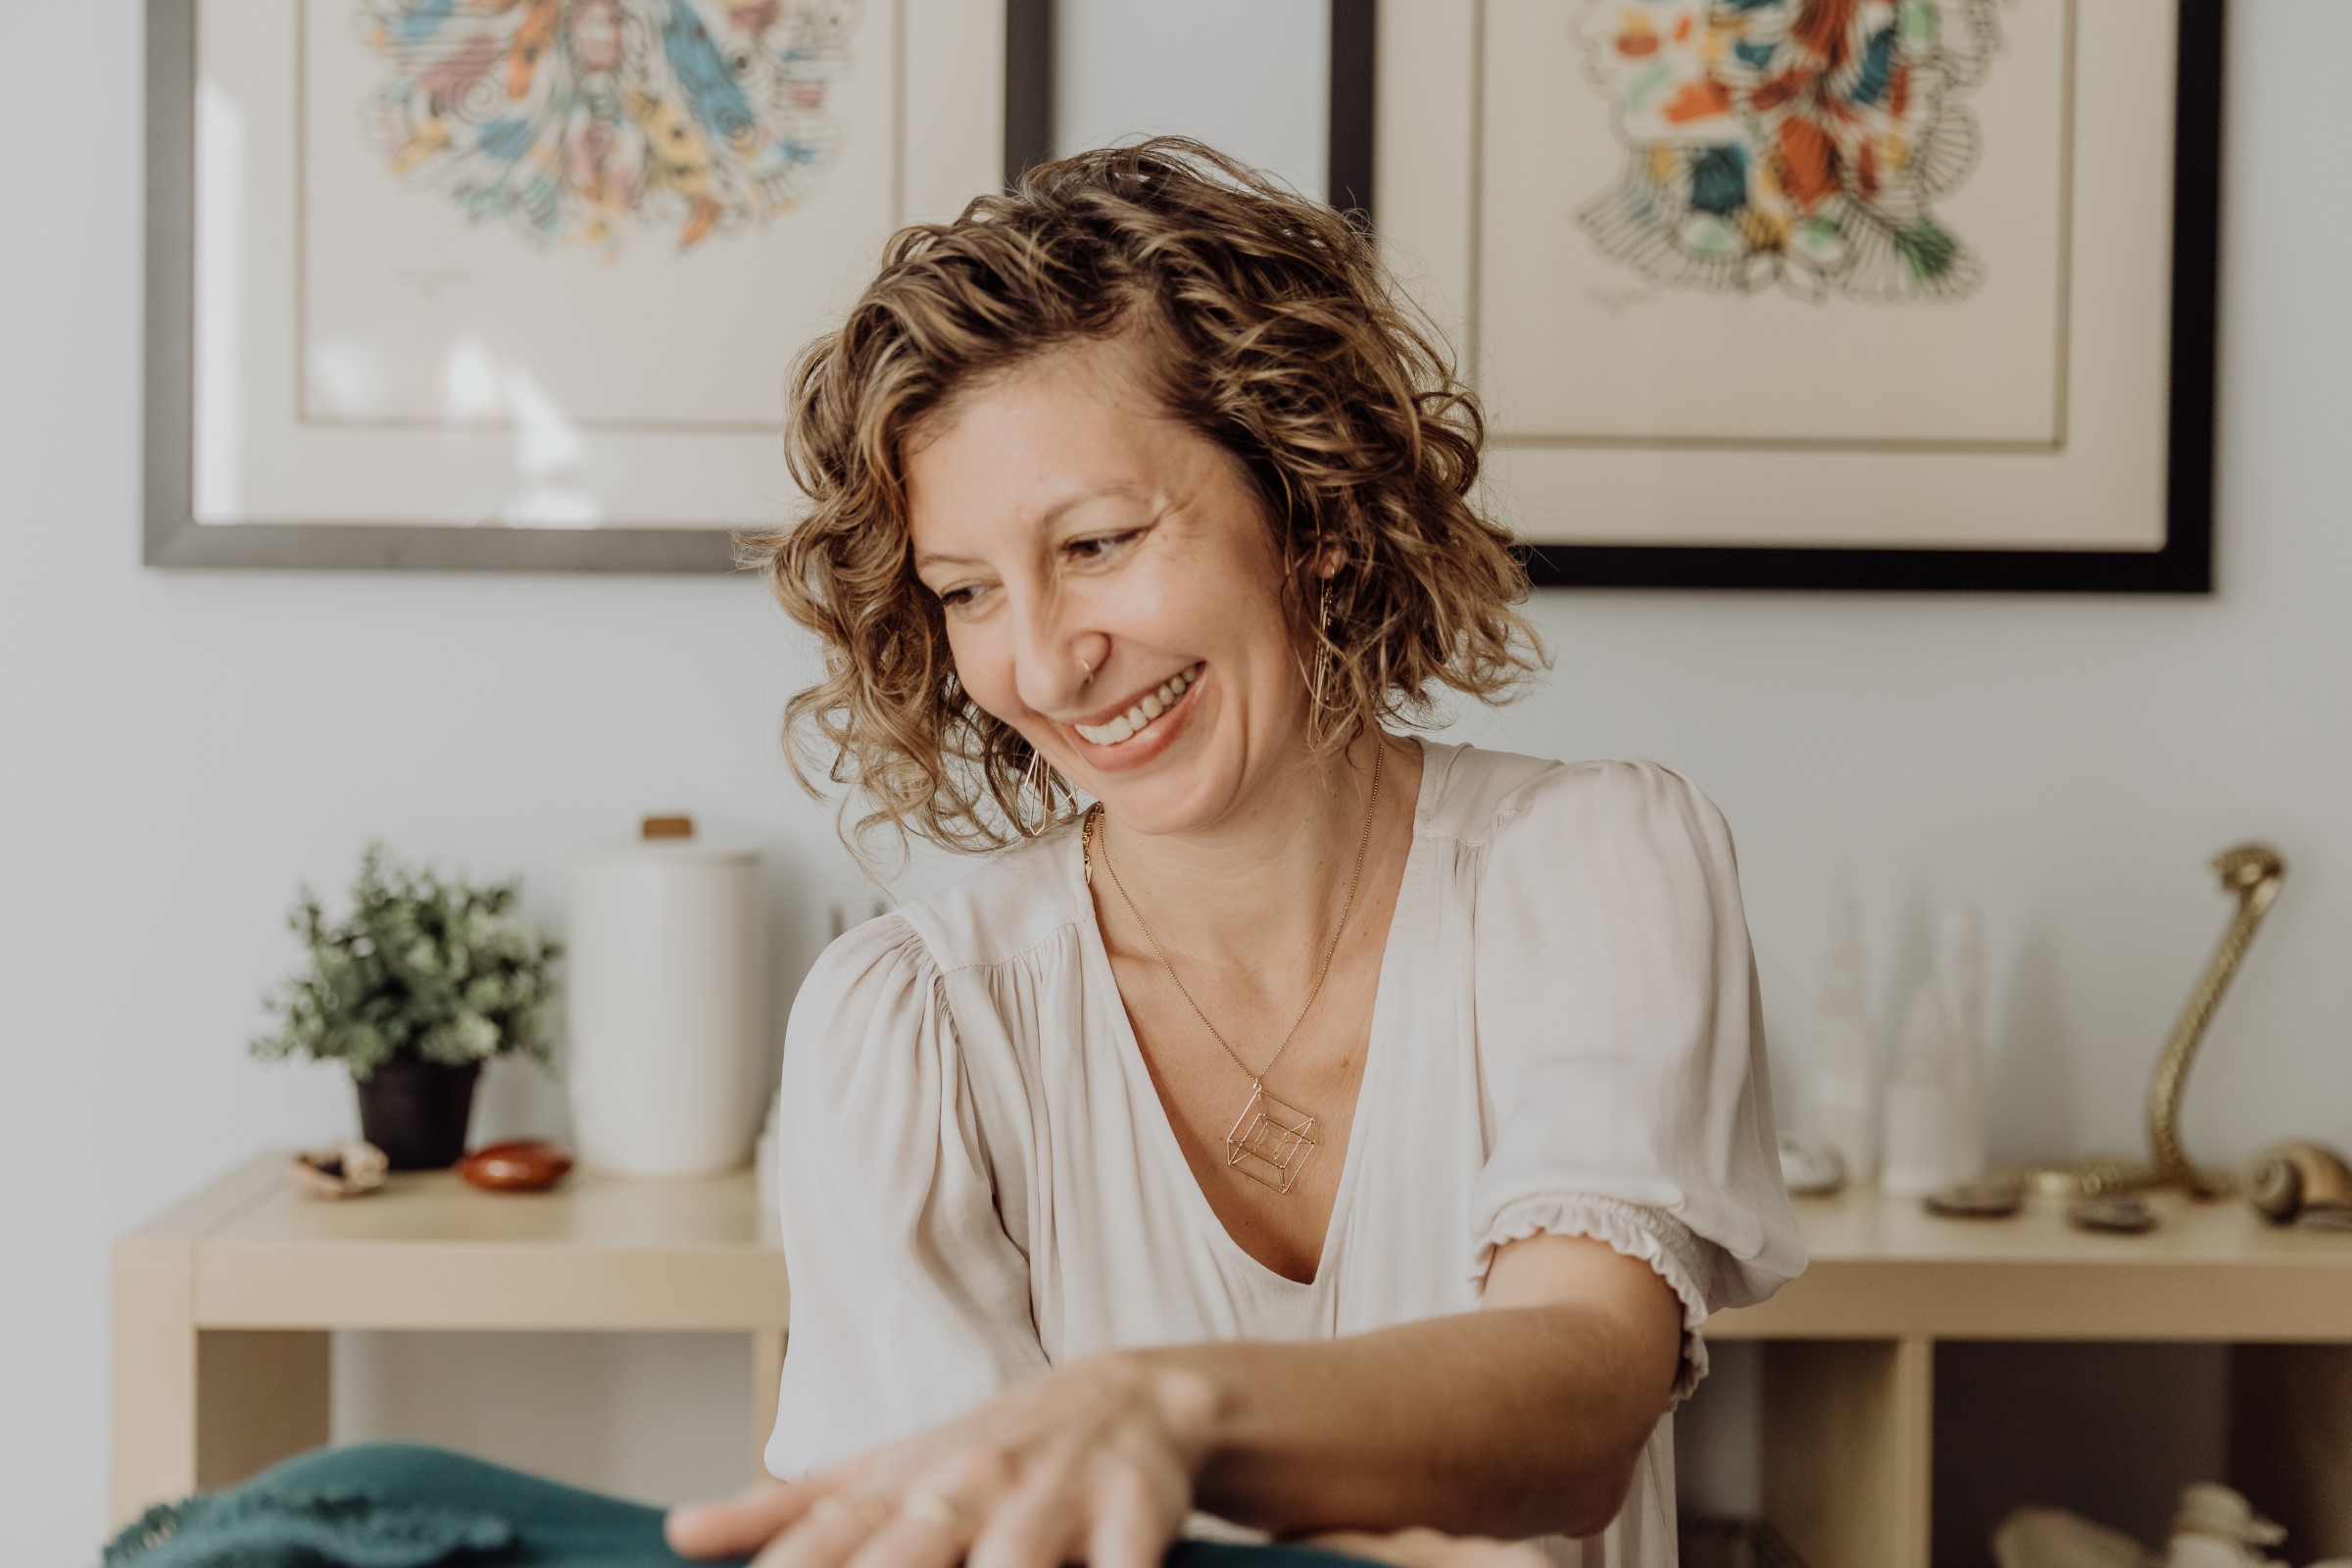
When shooting indoors, look for rooms with ample windows that allow plenty of natural light to enter. Position your subject near the window, but not directly in front of it, to avoid harsh backlighting. Soft, diffused light can be achieved by using sheer curtains to filter the incoming light. This setup is ideal for creating soft, evenly lit portraits that feel intimate and warm.
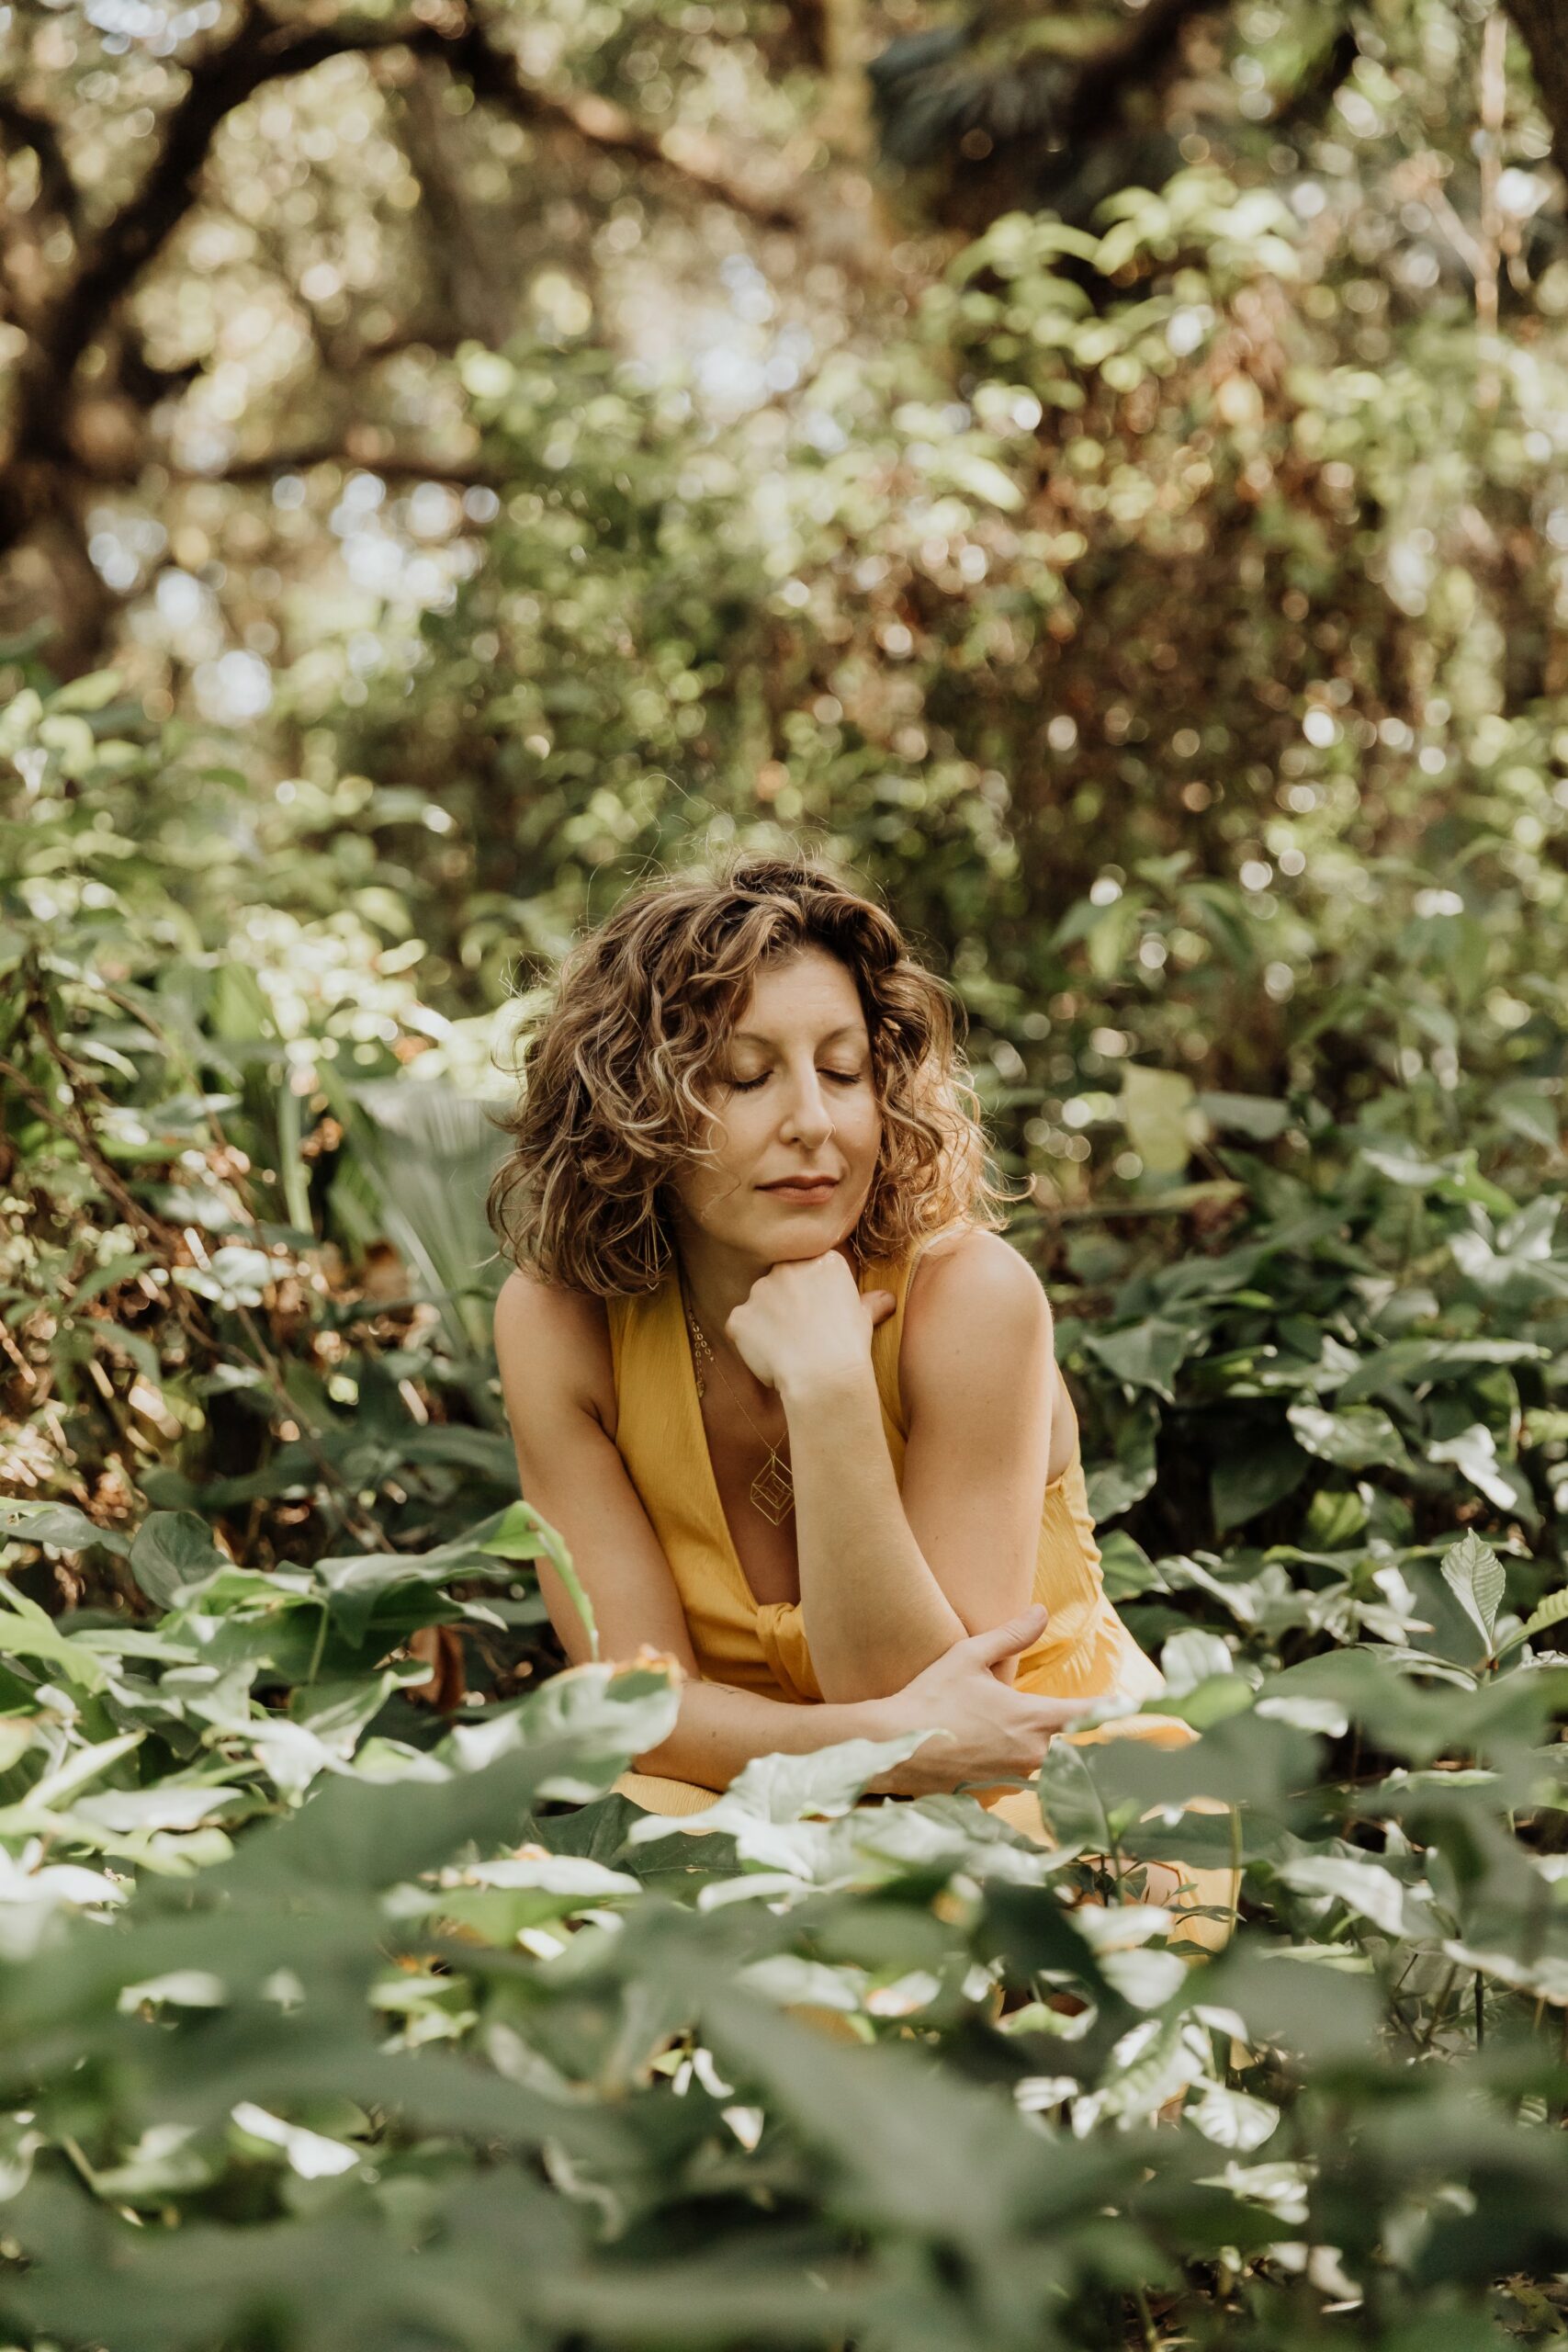
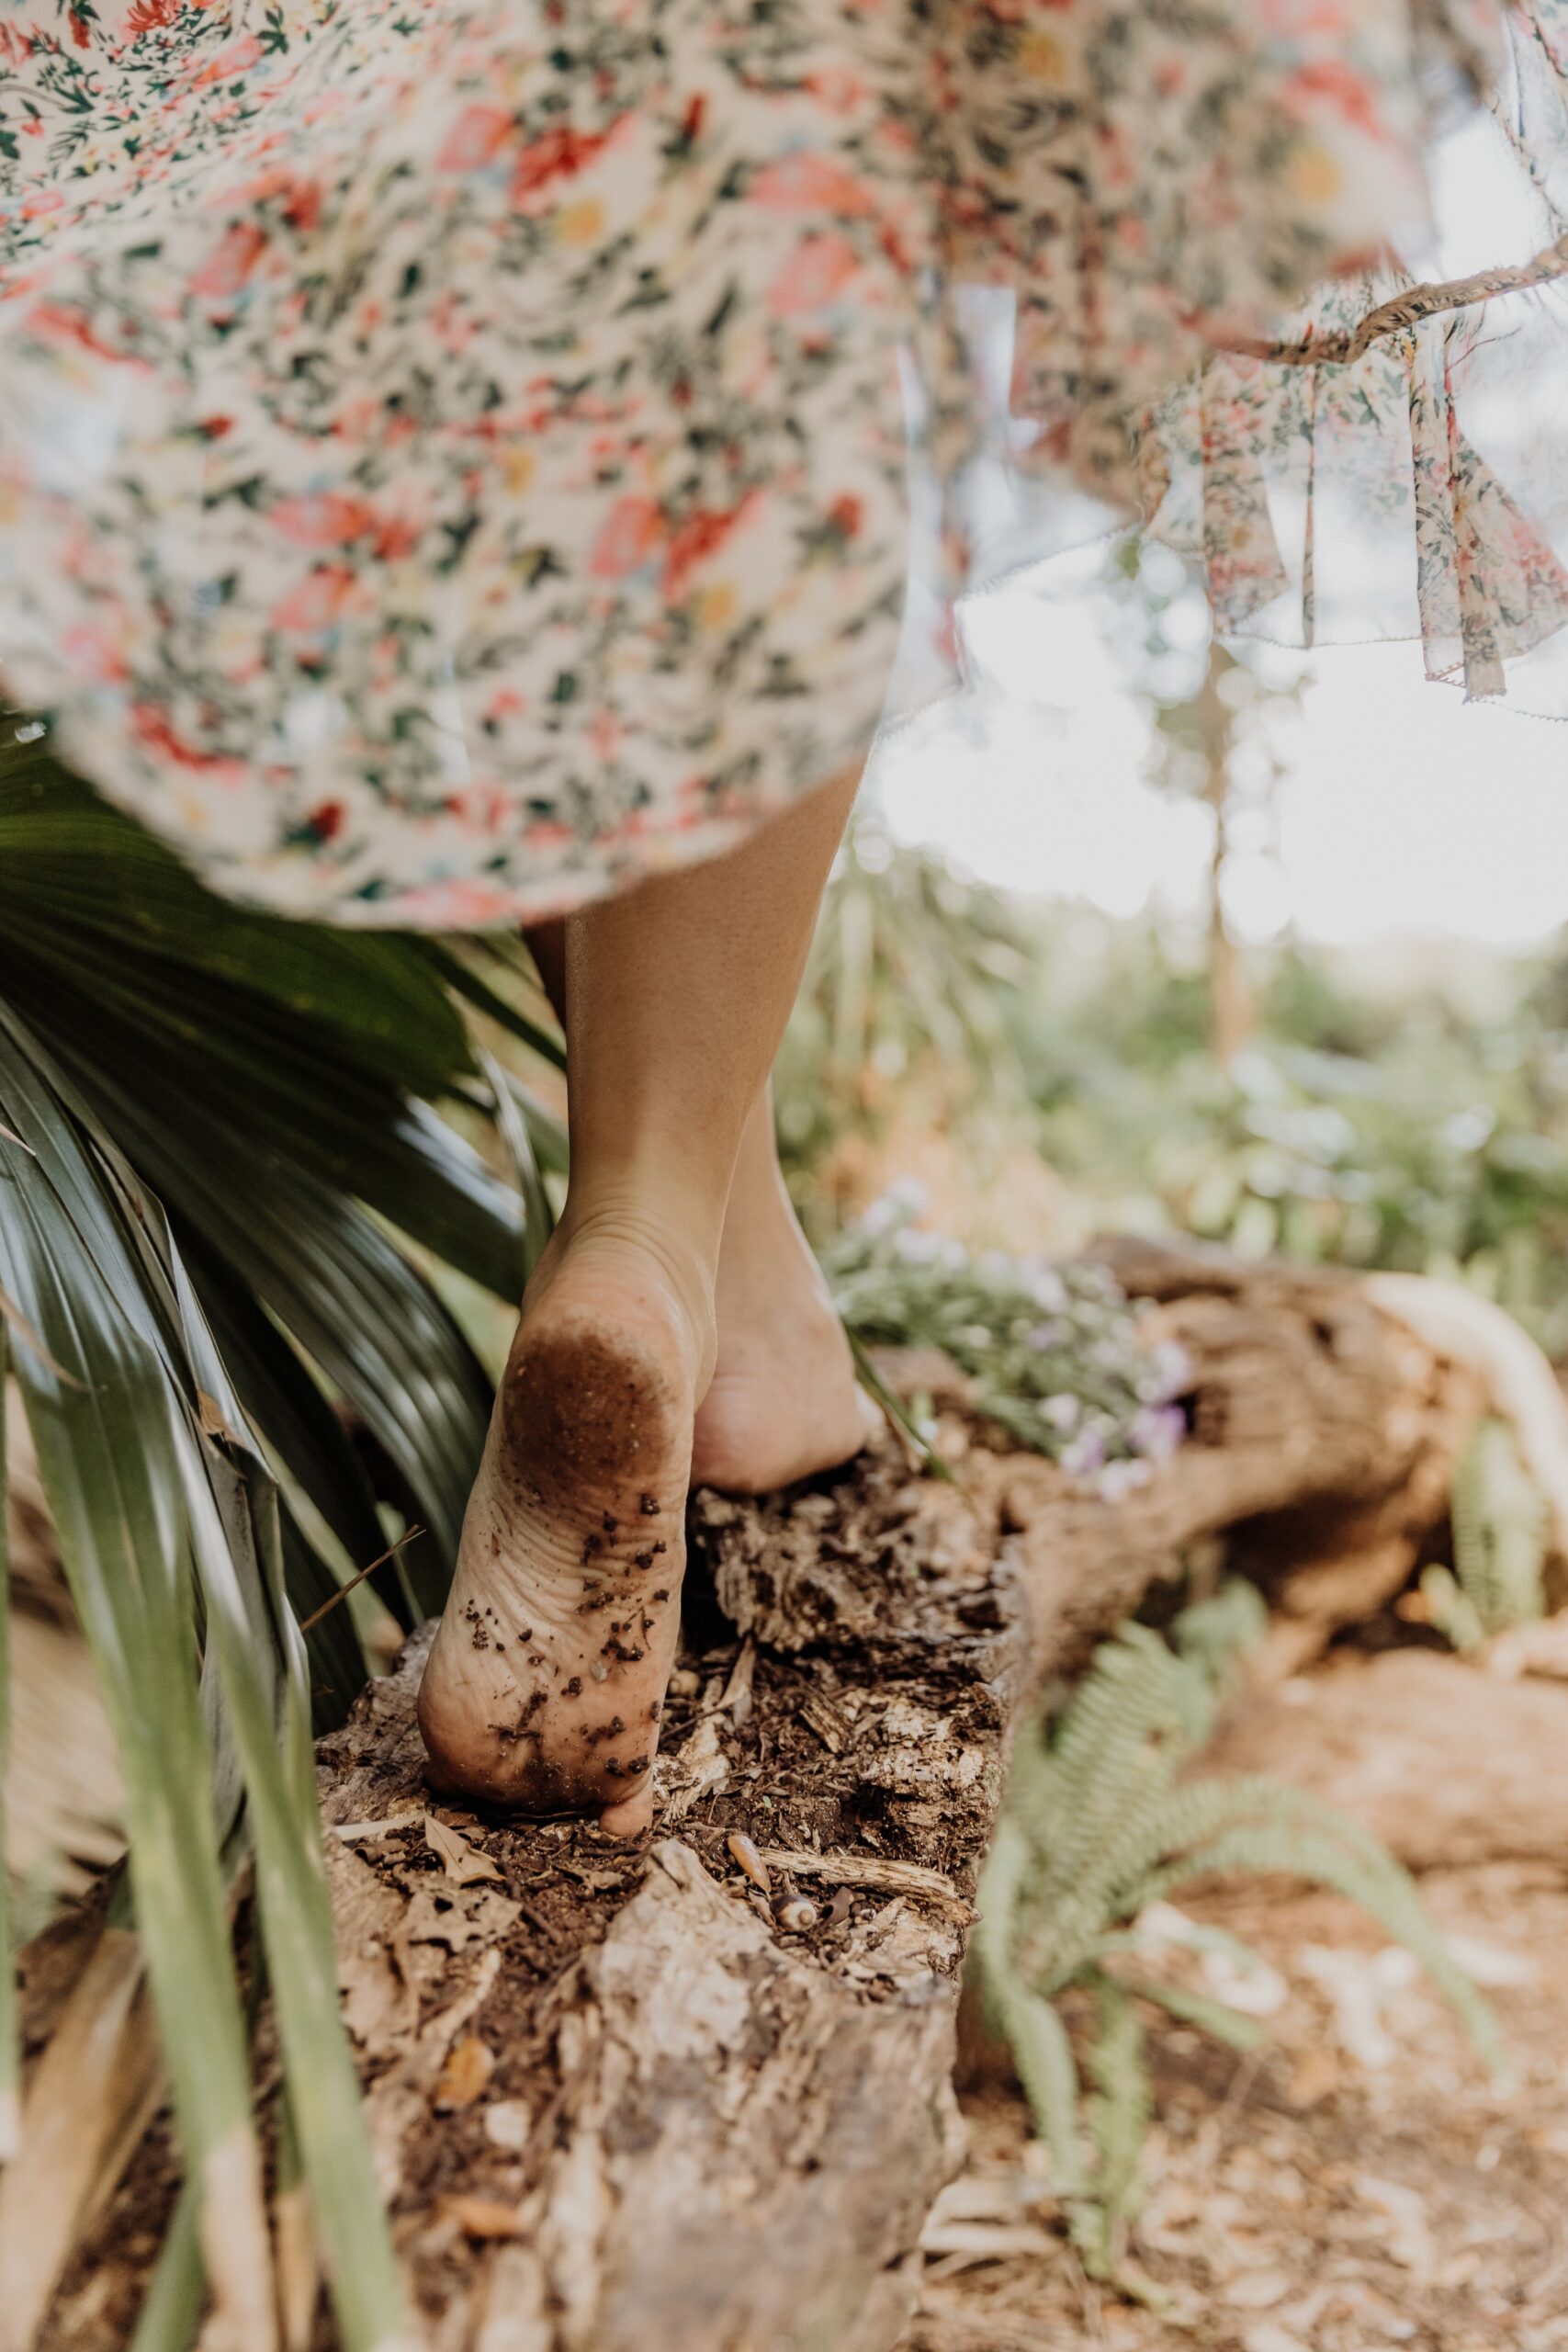
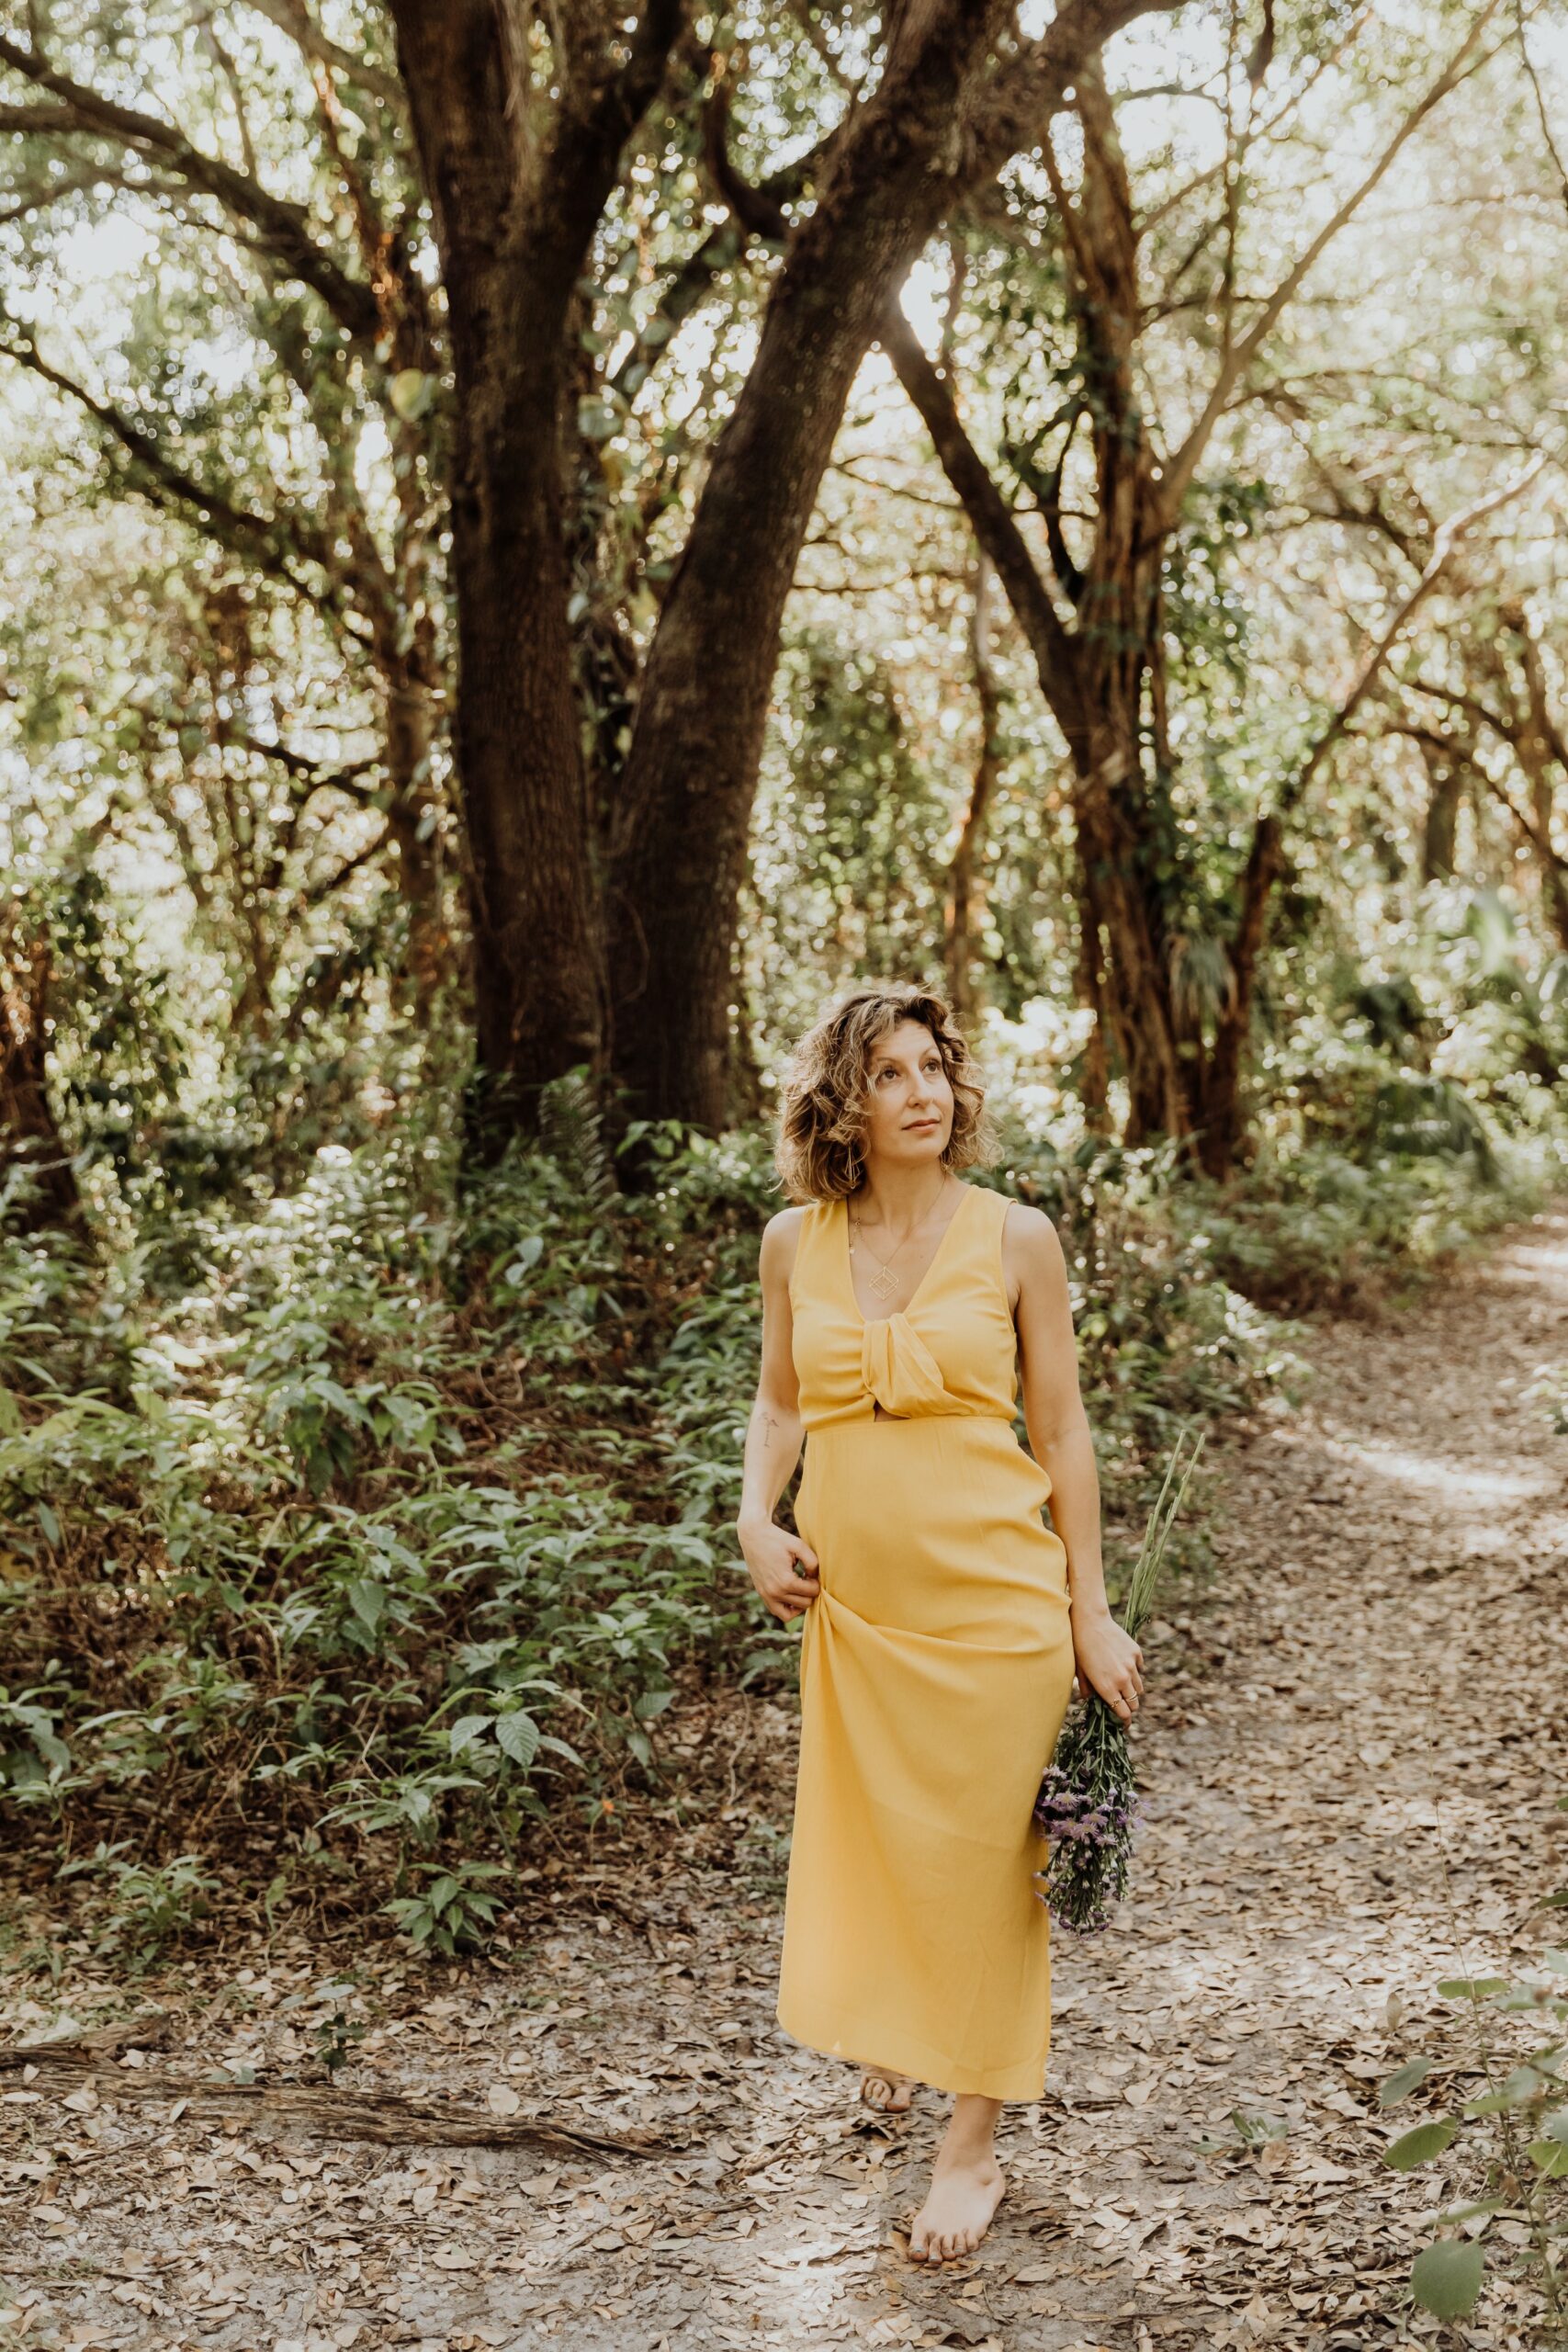
Outdoors
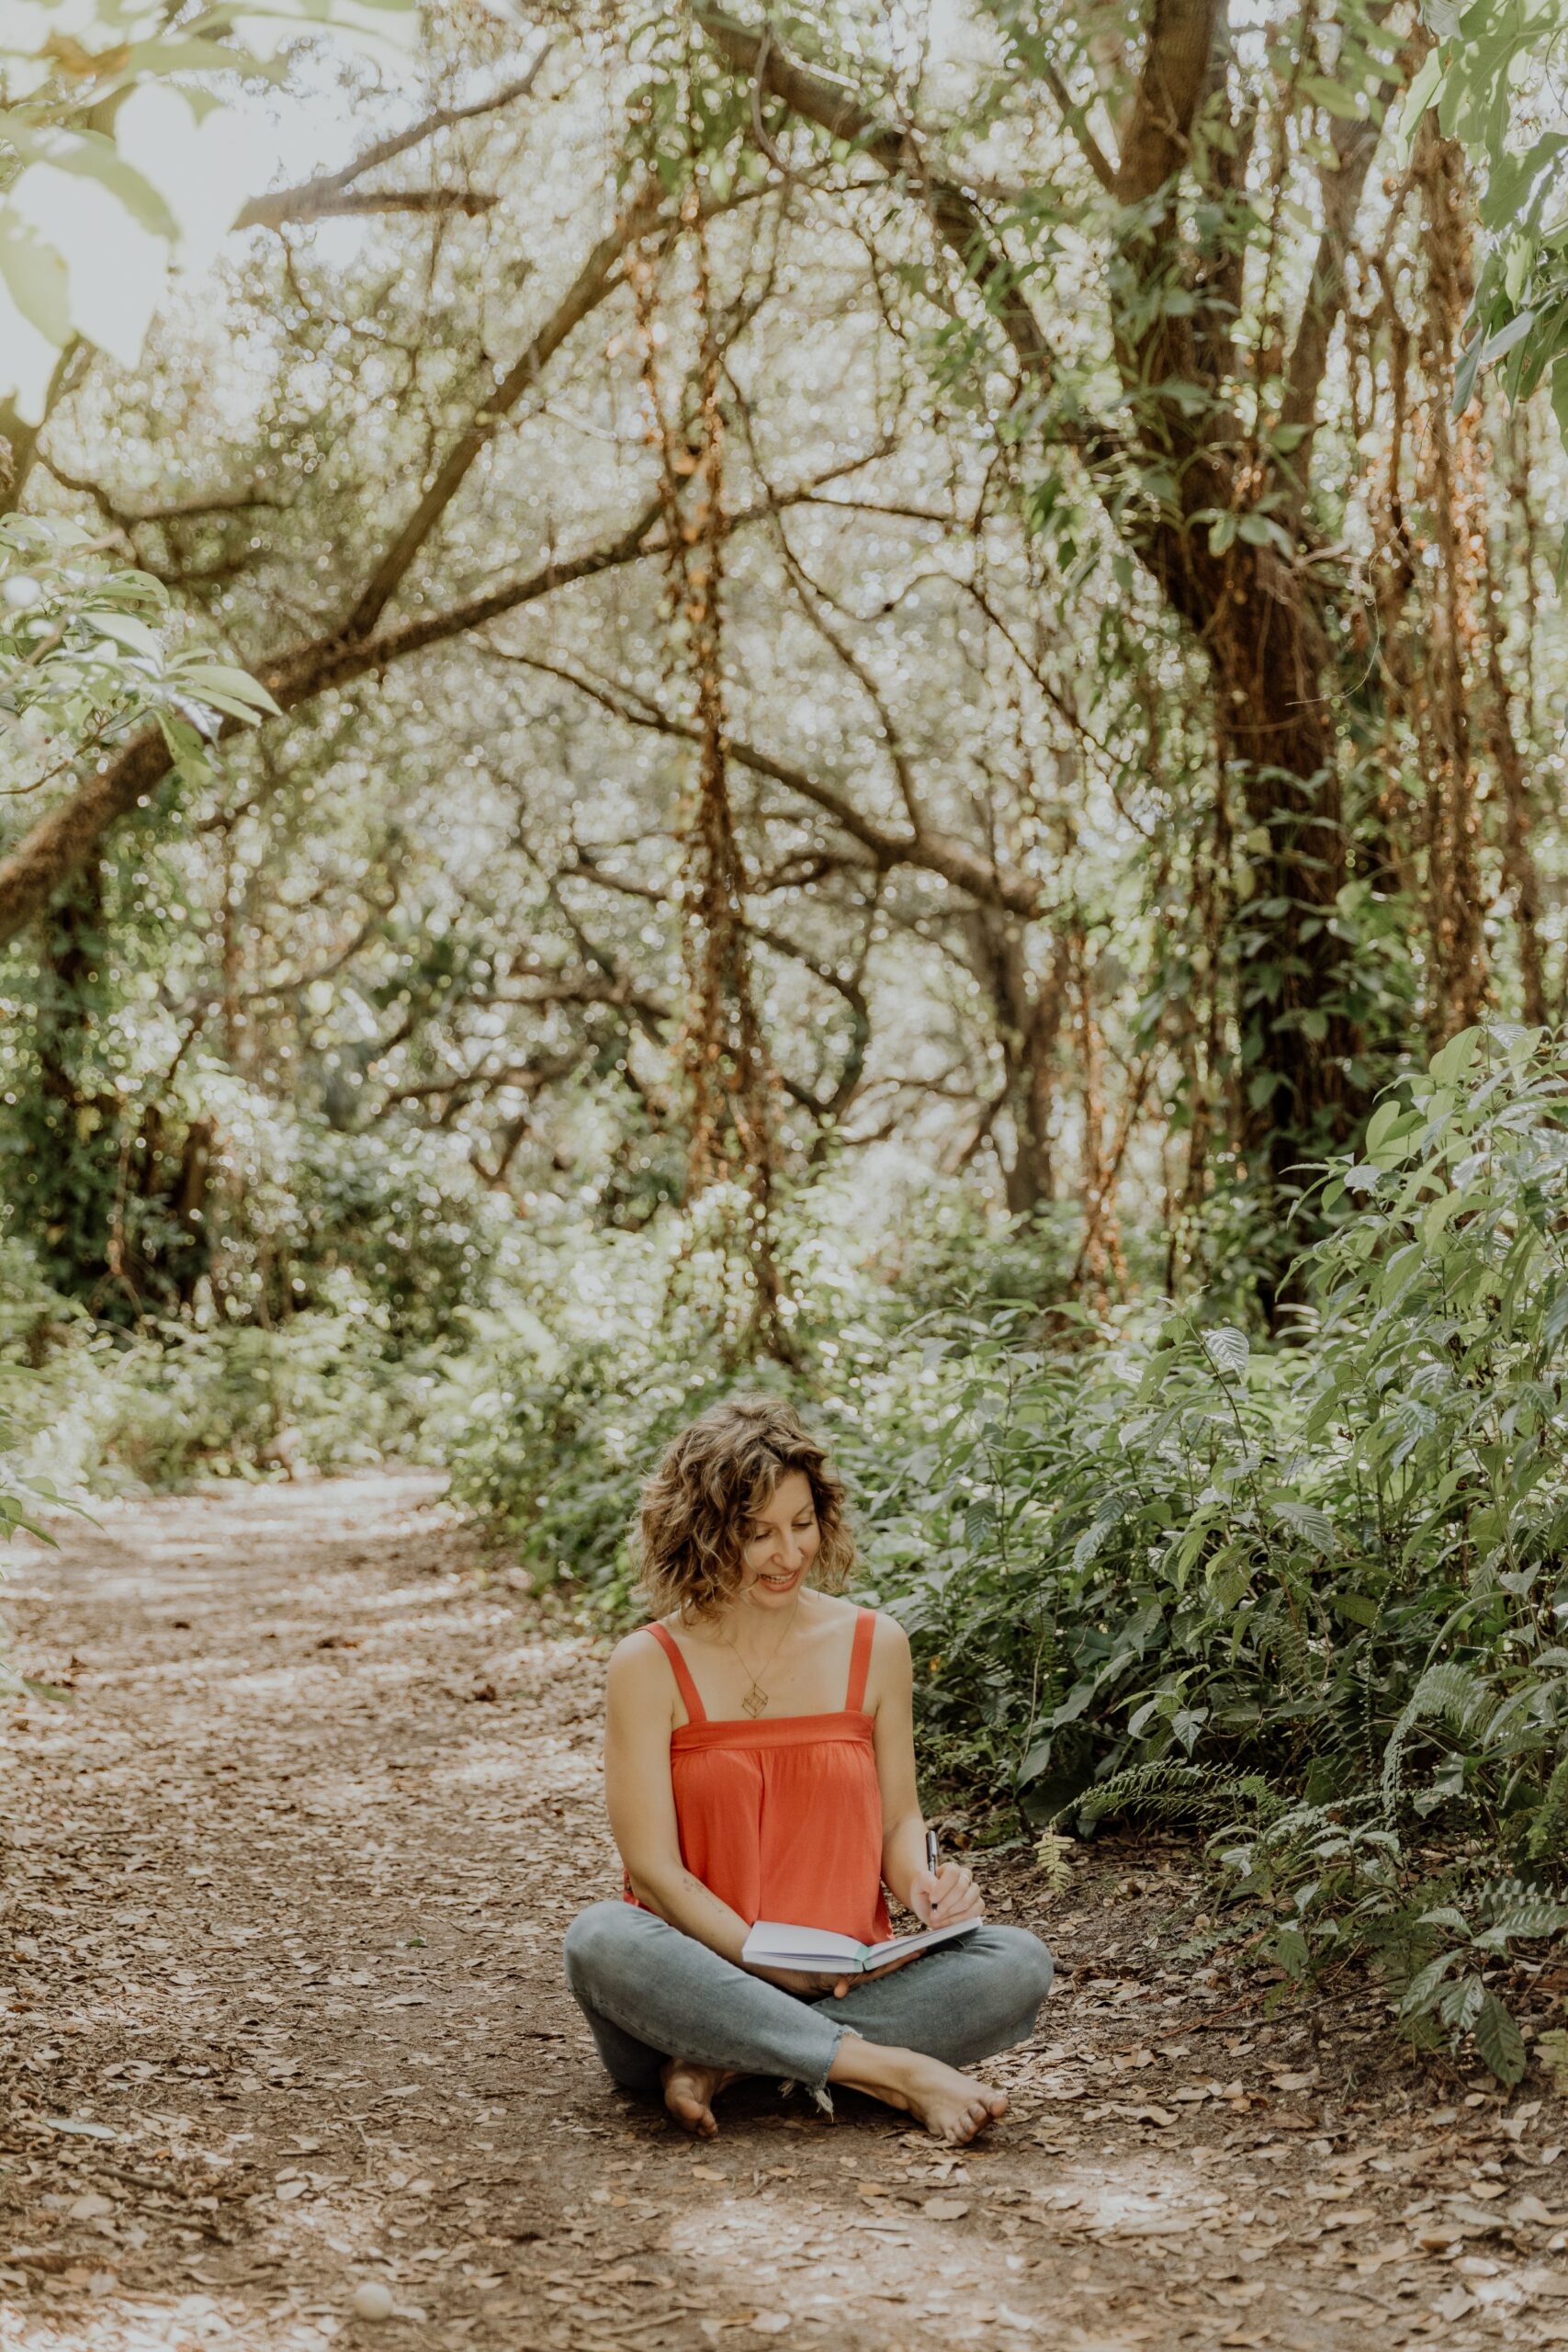
Outdoors, the world is your oyster, but it’s important to choose locations wisely. Open shade is your friend here. Look for areas where buildings, trees, or other structures provide a natural canopy to diffuse the direct sunlight. This prevents harsh shadows and squinting subjects. Parks, forested areas, or even urban settings with tall buildings can offer the perfect backdrop with balanced natural light.

Positioning Your Subject
The way you position your subject relative to the natural light source can dramatically change the look and feel of your portrait. Here are some key considerations for getting the lighting just right:
Direction of Light
- Frontlit: Positioning your subject so the light hits their face directly can create a bright and clear look, but be wary of harsh shadows under the eyes and nose if the light is too strong.
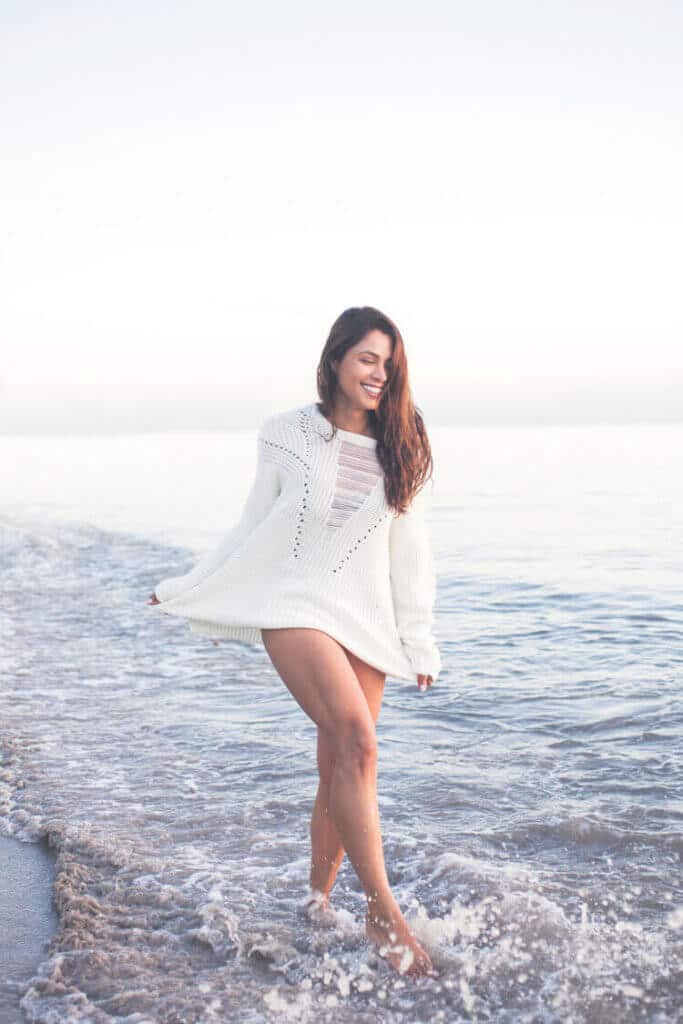
- Backlit: Placing the light source behind your subject can create a stunning halo effect and bring a dreamy, ethereal quality to your photos. However, this technique may require some additional adjustments to exposure settings to ensure your subject isn't silhouetted.
- Sidelit: Lighting your subject from the side accentuates texture and depth, making it great for dramatic portraits. It can highlight contours and create a moodier atmosphere.
Creative Use of Environmental Light
In this section, we’ll explore some advanced techniques for using the environment to create unique vibe
Creating Mood with Shadows and Light
- Interplay of Light and Shadows: Experiment with the dramatic effects of chiaroscuro by using the contrast between light and dark areas. This technique can add mood and depth to your portraits.
- Silhouettes: Use strong backlit environments to create silhouettes, playing with form and outline rather than details. This can turn a simple portrait into a striking piece of art.
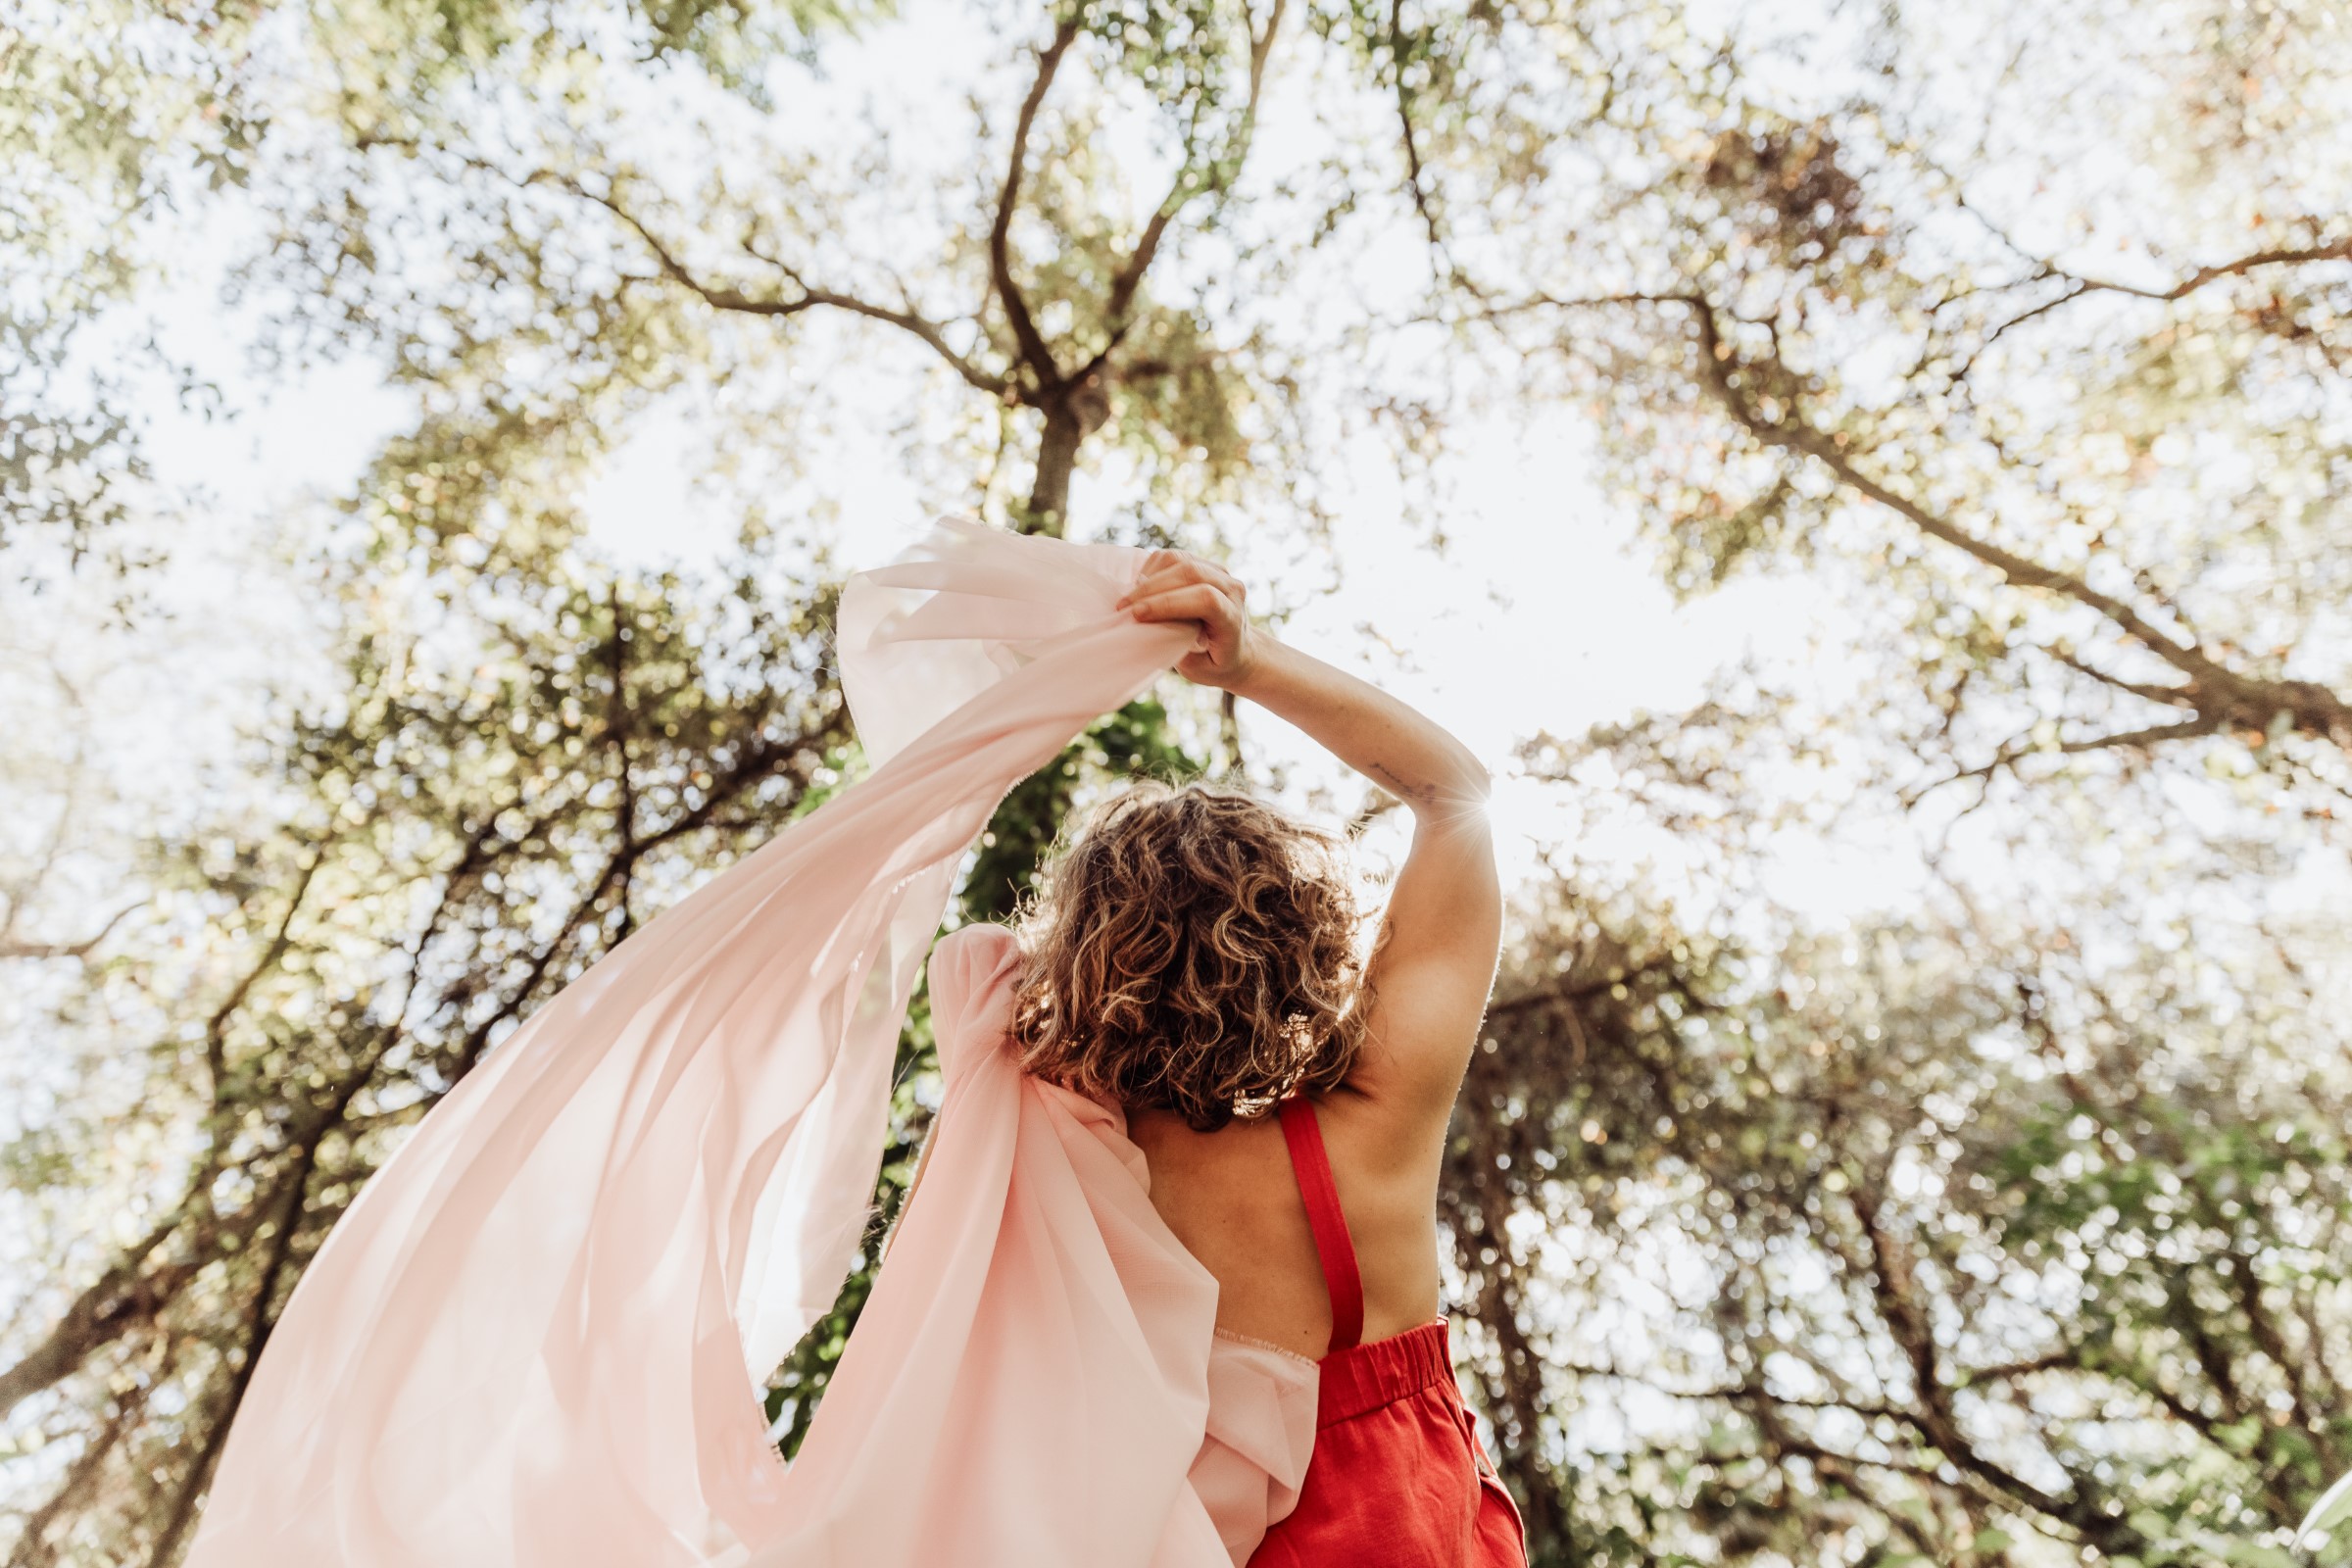
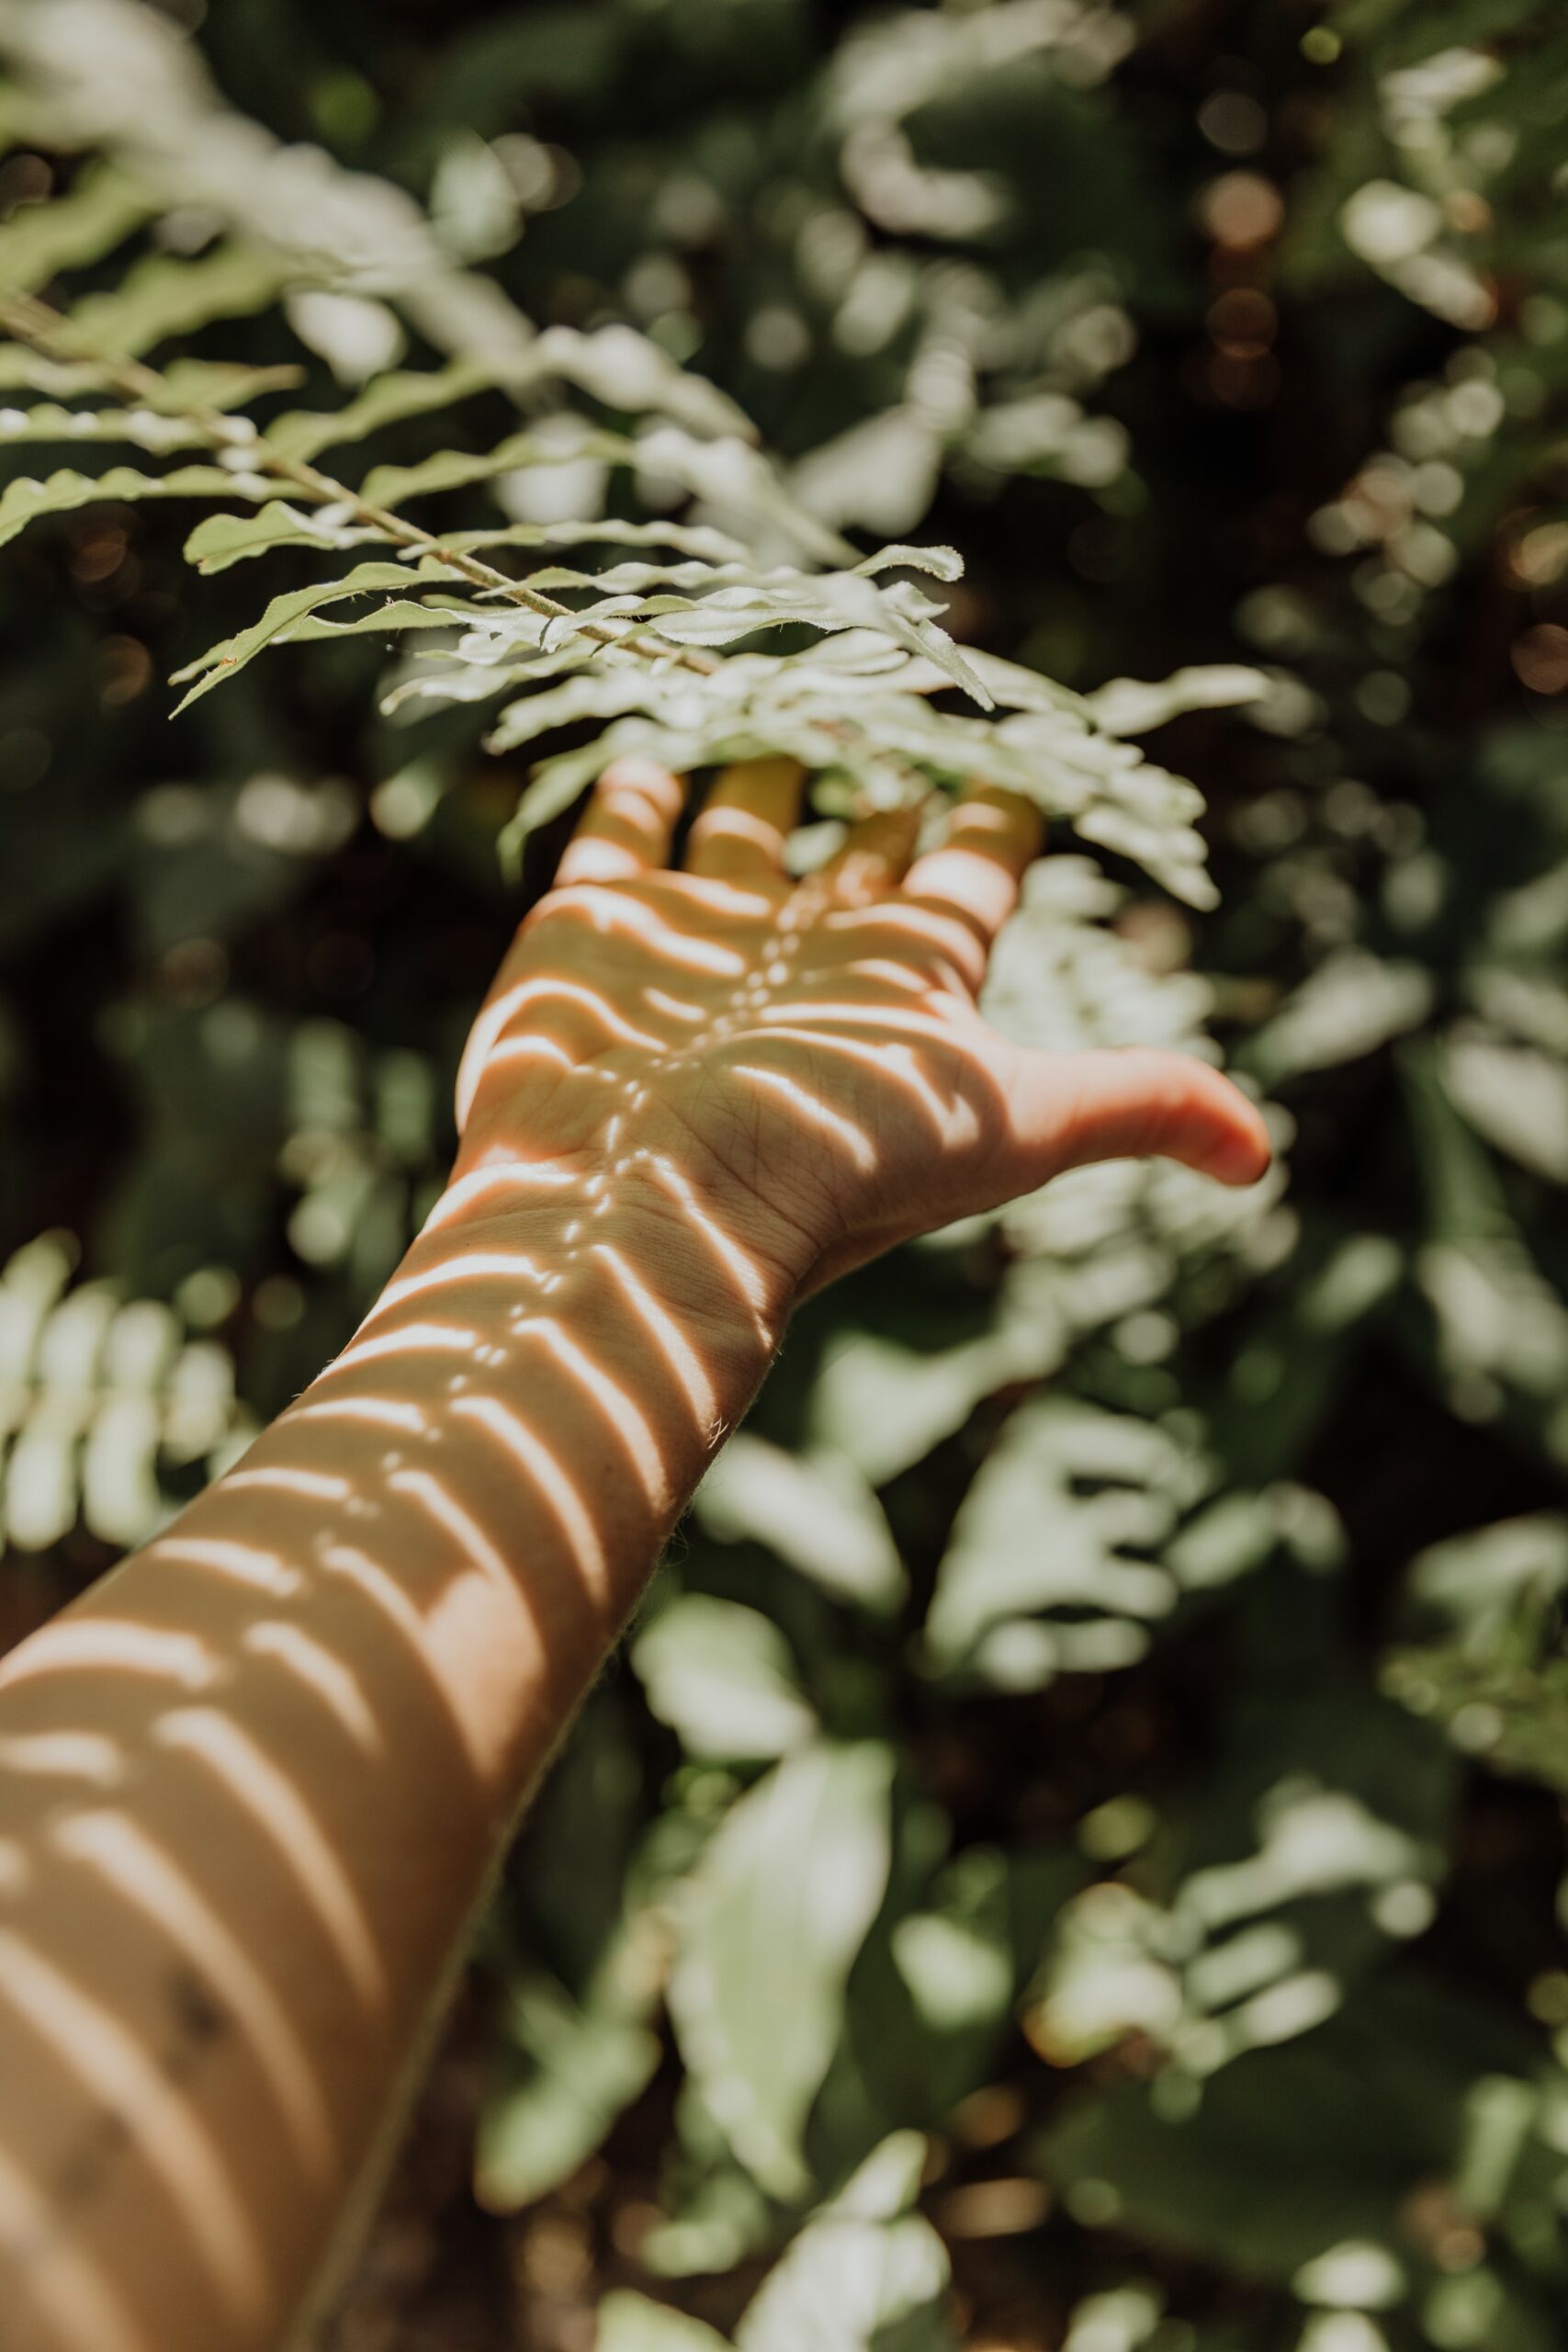
Using Natural Patterns as Filters
- Leaves, Branches, and Architectural Features: Position your subject so that natural or architectural elements partially obscure the light, creating patterned shadows or intriguing light shapes on your subject.
- Reflections and Mirrored Surfaces: Capture reflections in water, glass, or metal surfaces to add a layer of complexity and interest to your portraits.
Camera Settings for Natural Light
Understanding and adjusting your camera settings is crucial for making the most of natural light. Here are some tips that you can use as starting points, but don't forget to experiment and try a lot of different settings! Sometimes the "wrong setting" can lead to happy accidents to get some crazy effects!
Exposure Settings
- Aperture: Use a wider aperture (lower f-number) to allow more light into your camera when shooting in dim conditions, or a narrower aperture (higher f-number) for brighter conditions. This also helps control the depth of field, allowing for creamy backgrounds that make your subject stand out.
- Shutter Speed: Adjust the shutter speed to ensure your subject is well-exposed. Faster speeds are great for bright days and capturing movement without blur, while slower speeds can be useful in lower light.
- ISO: Keep the ISO as low as possible to reduce noise, but don’t be afraid to increase it slightly on darker days to achieve the correct exposure without compromising on shutter speed or aperture.
White Balance
- Adjusting White Balance: Natural light can vary in color temperature, so adjusting your white balance can help ensure colors are rendered accurately in your images. Experiment with different settings to see what best complements the natural light in your scene.
- Presets and Custom Settings: Use presets like ‘Daylight’ or ‘Cloudy’ for quick adjustments, or custom settings for more control when the lighting has a unique tint.
Using Histograms
- Reading Histograms: Learn to read histograms to avoid overexposed highlights and underexposed shadows. This is especially helpful in natural light, which can have high contrast during certain times of the day.
- Adjusting Exposure Based on Histograms: Make adjustments to your exposure settings based on what the histogram tells you about the light distribution in your photo.


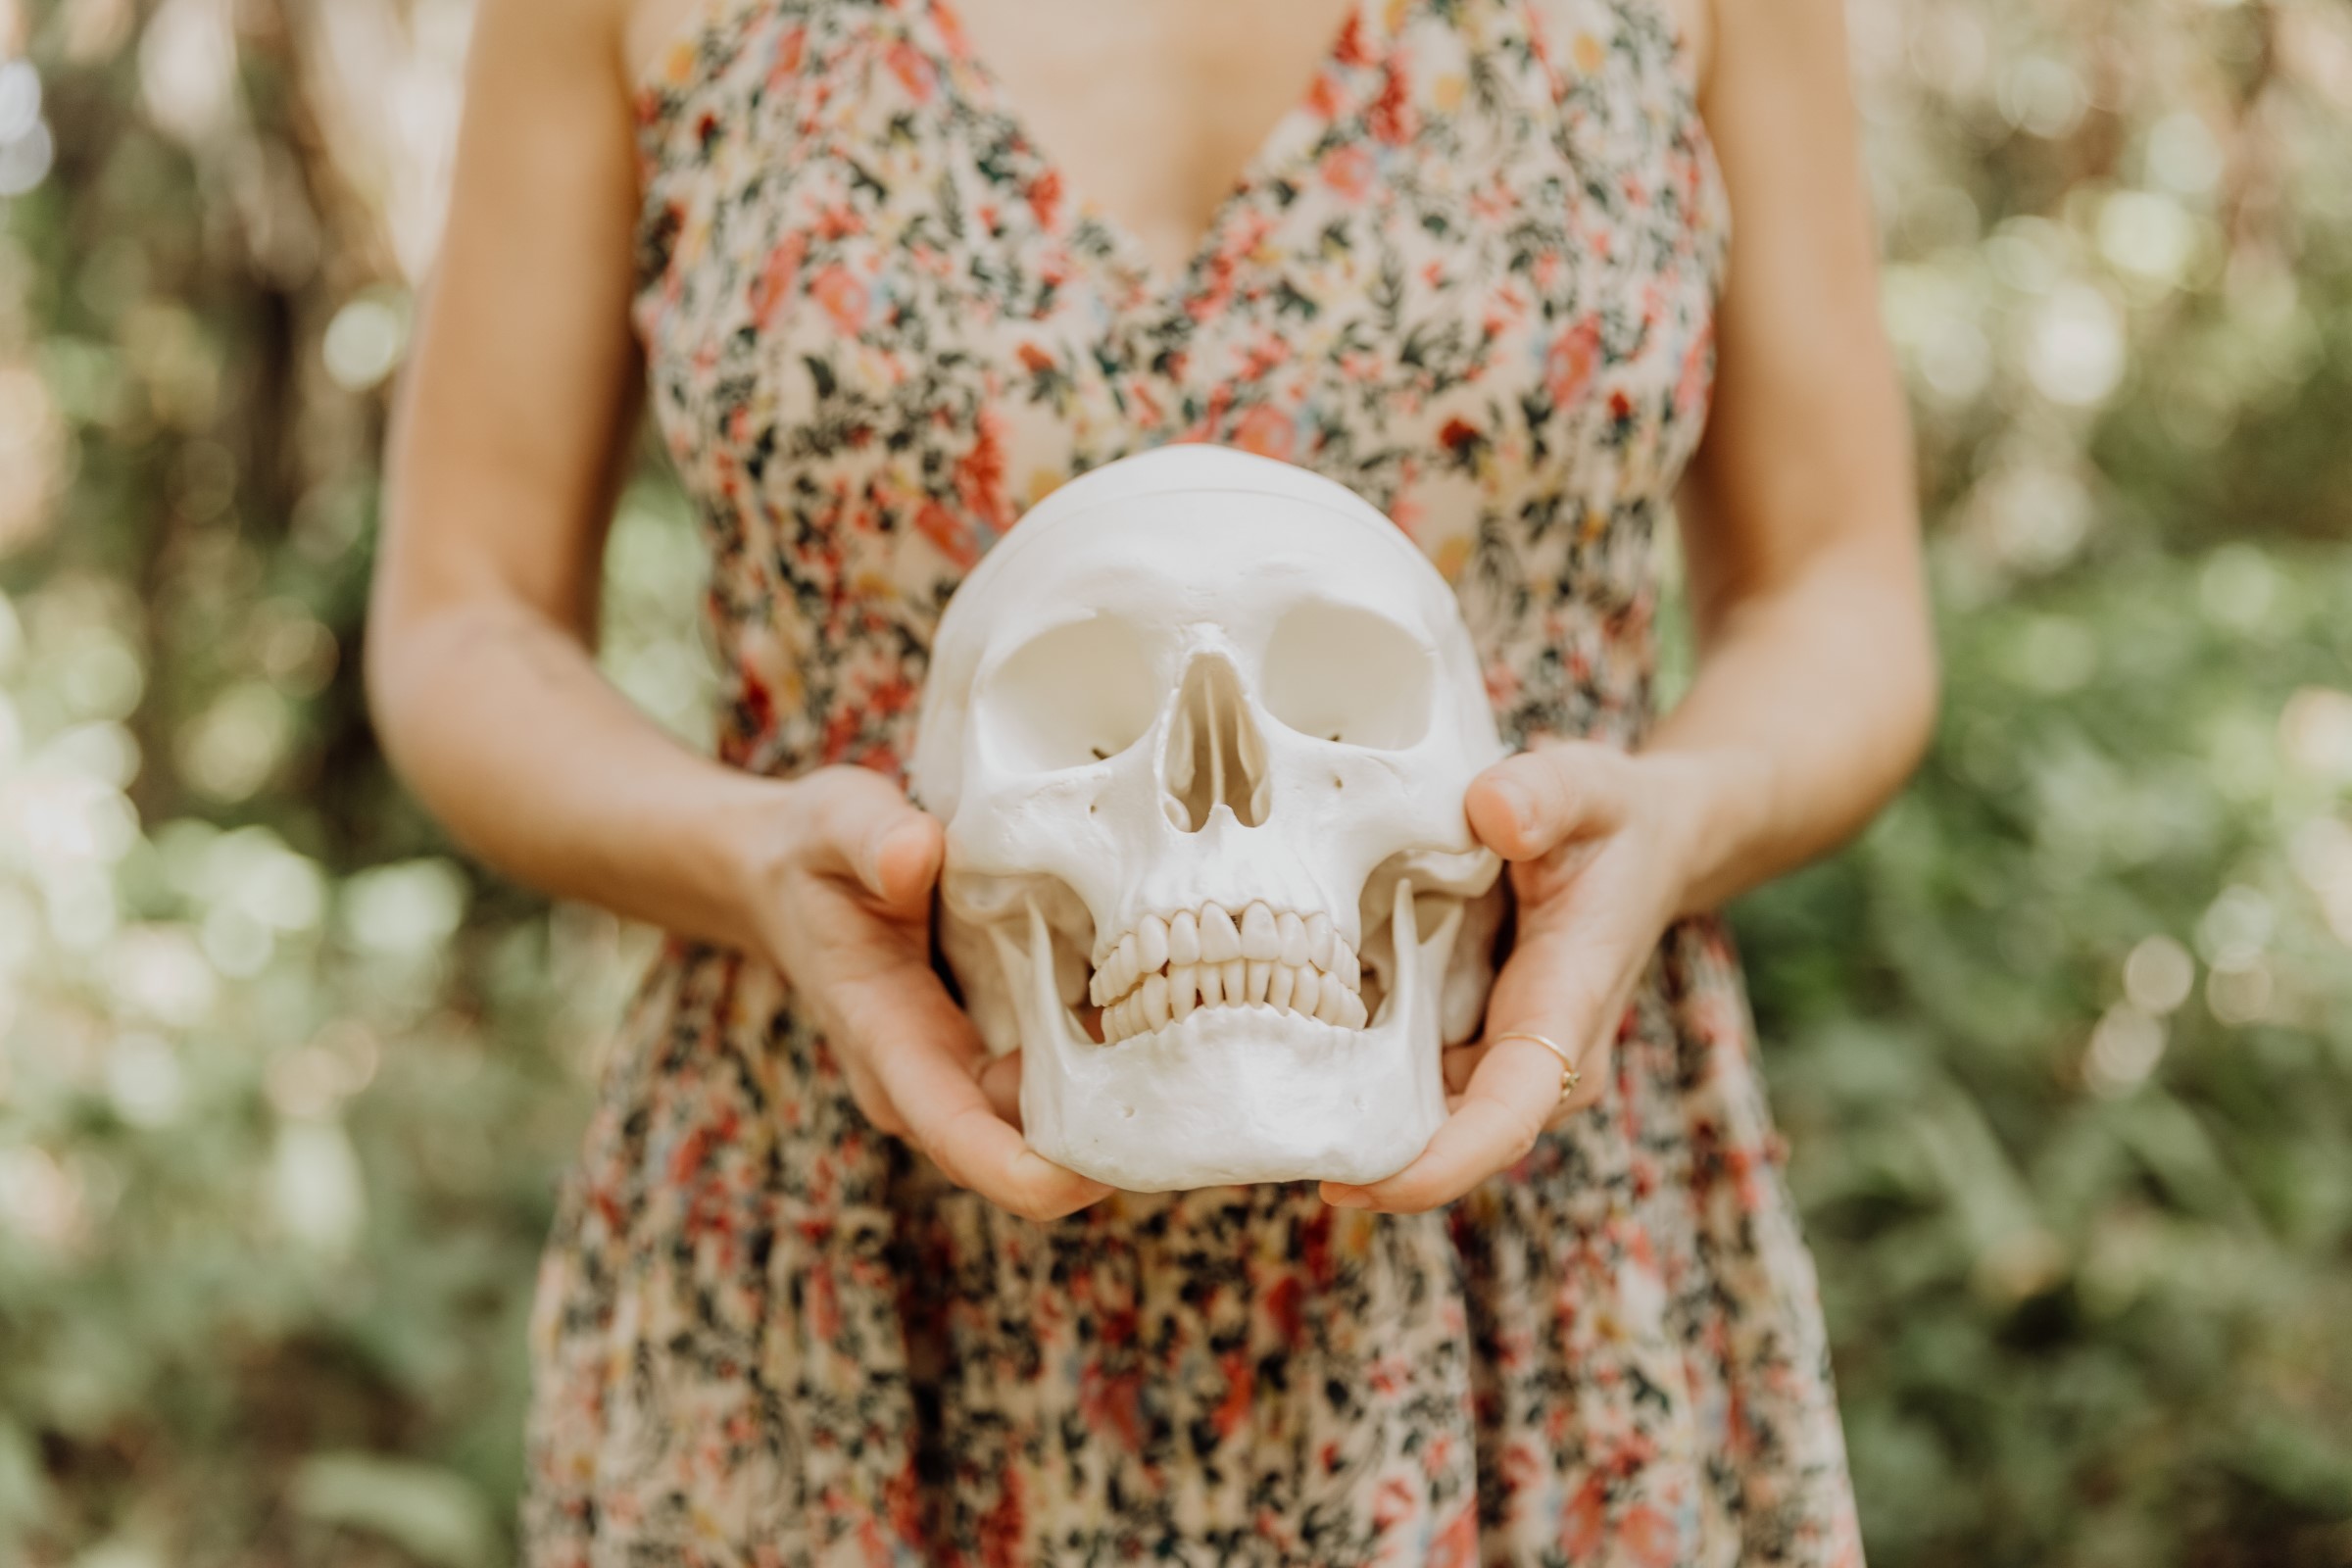
Capturing Expressions and Moments
The true art of portrait photography lies in capturing genuine expressions and fleeting moments. When paired with natural light, these moments can become truly magical. Here are some tips on how to capture these authentic expressions effectively:
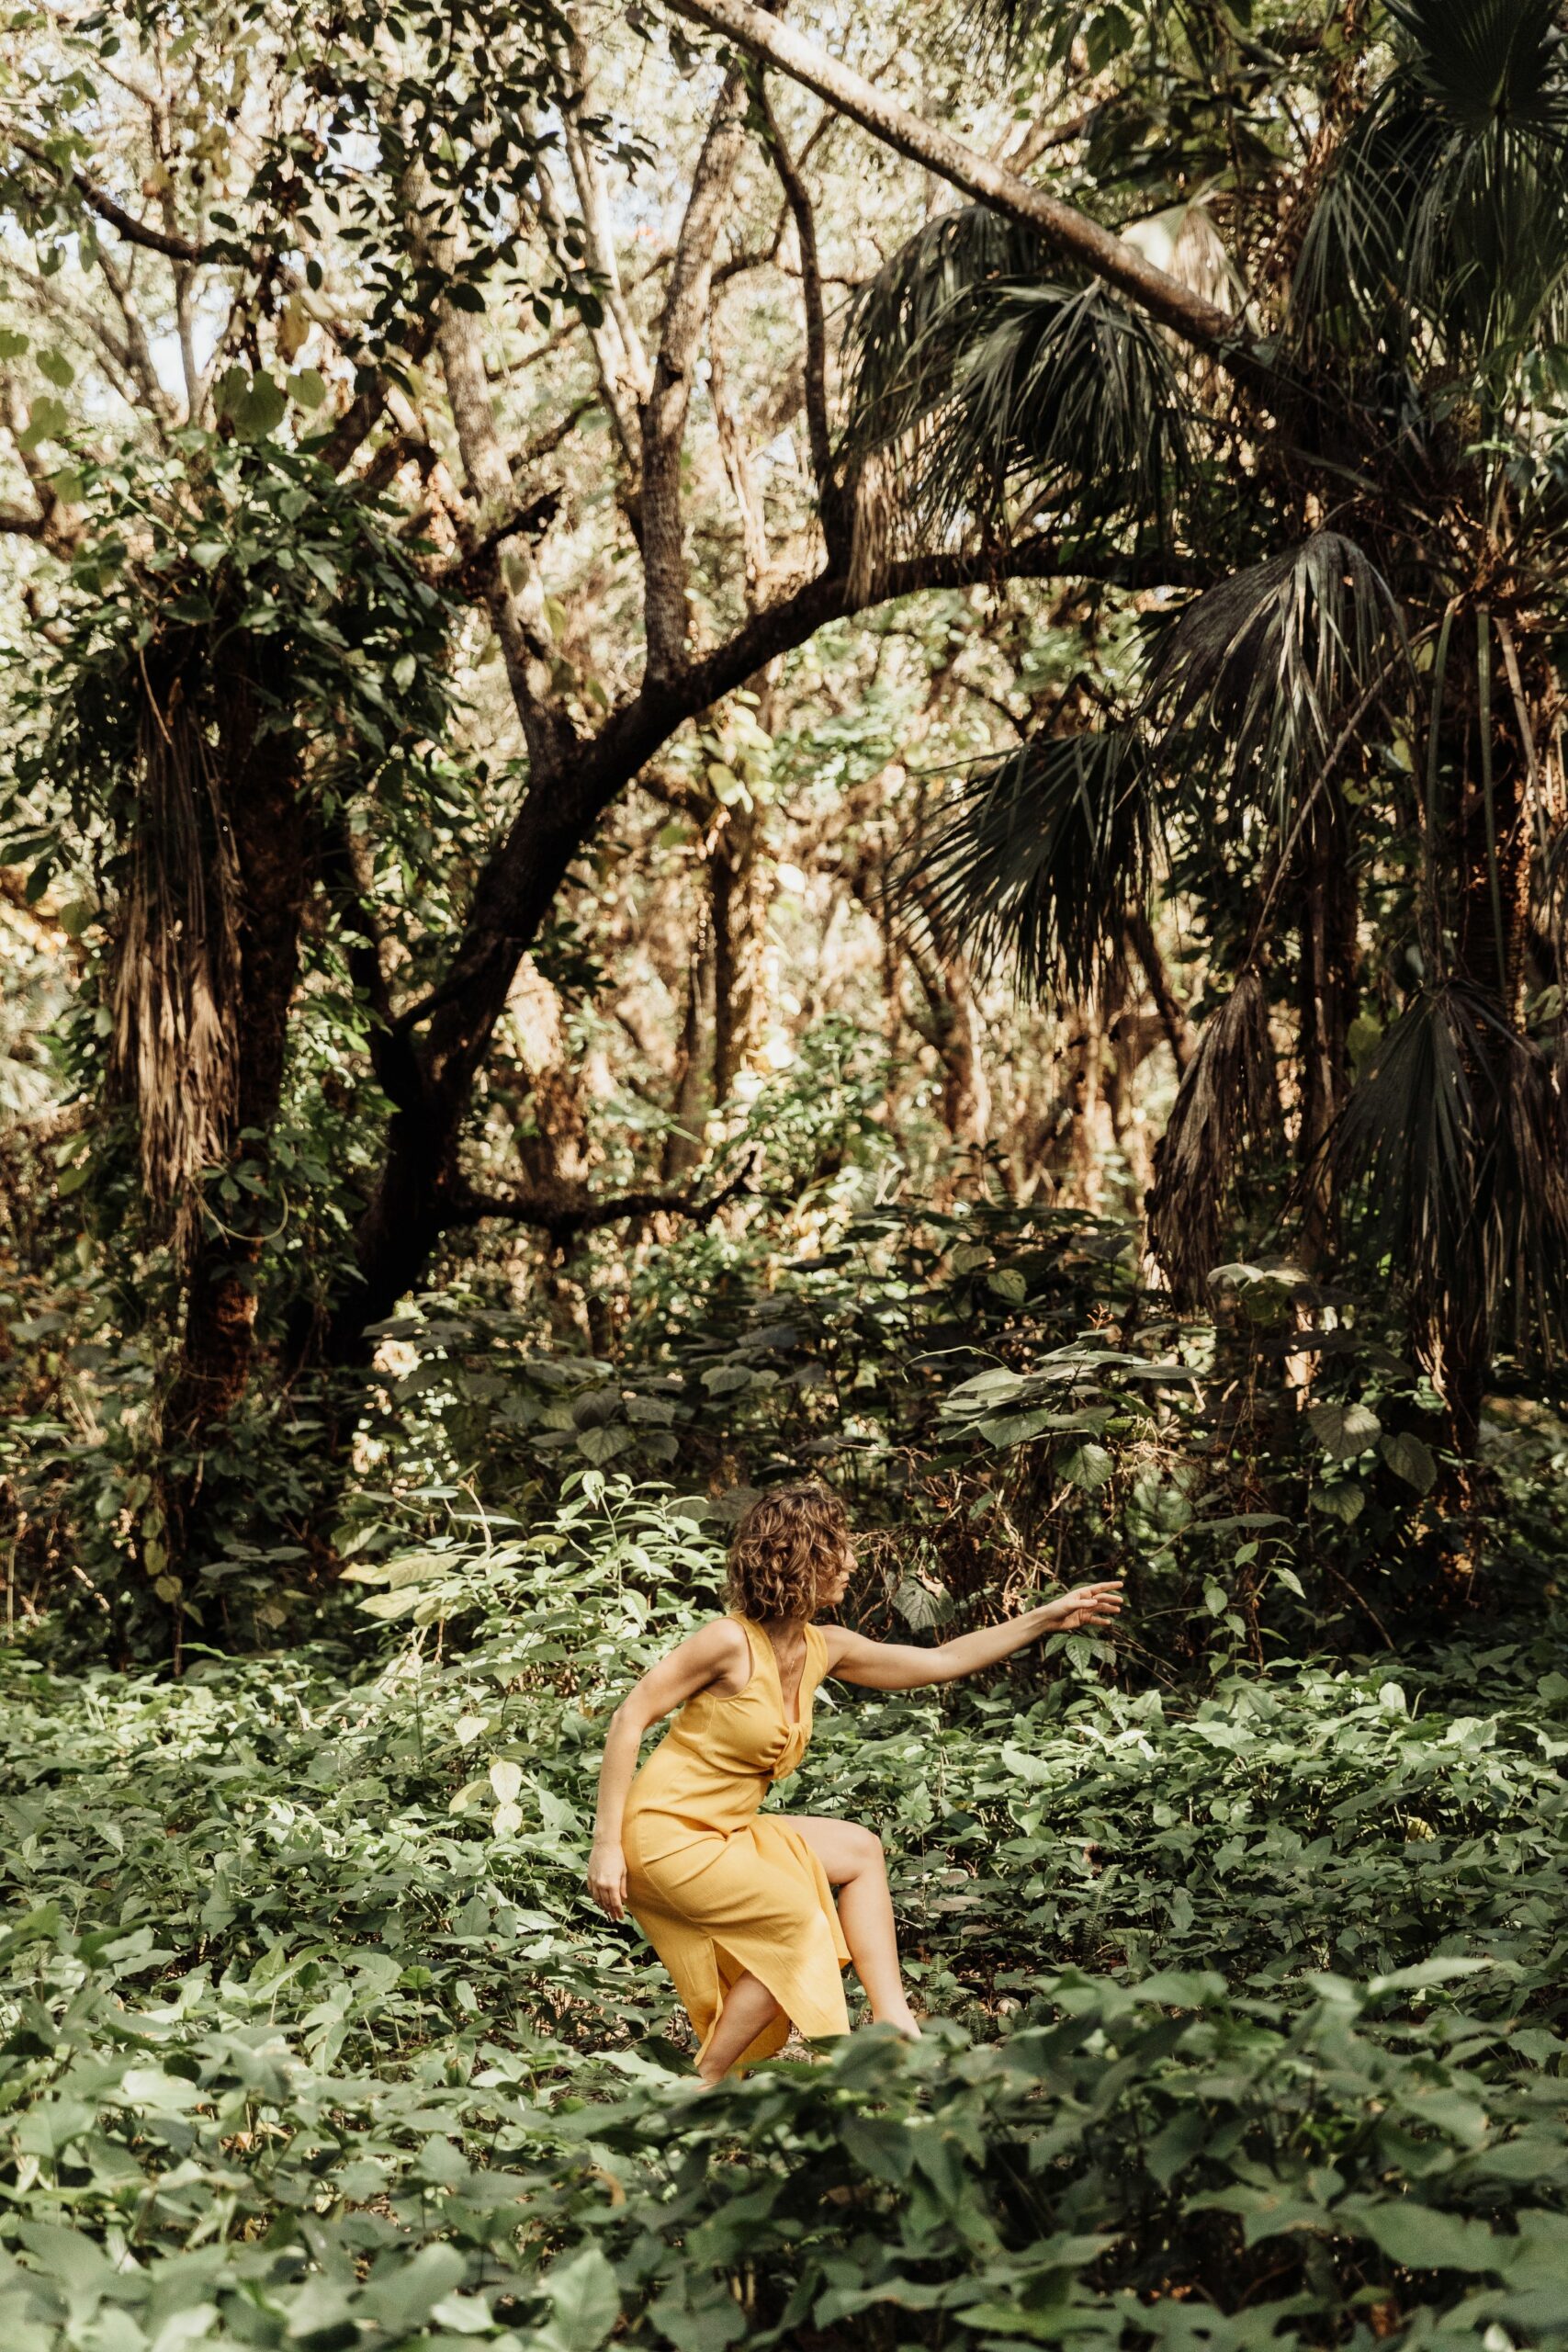
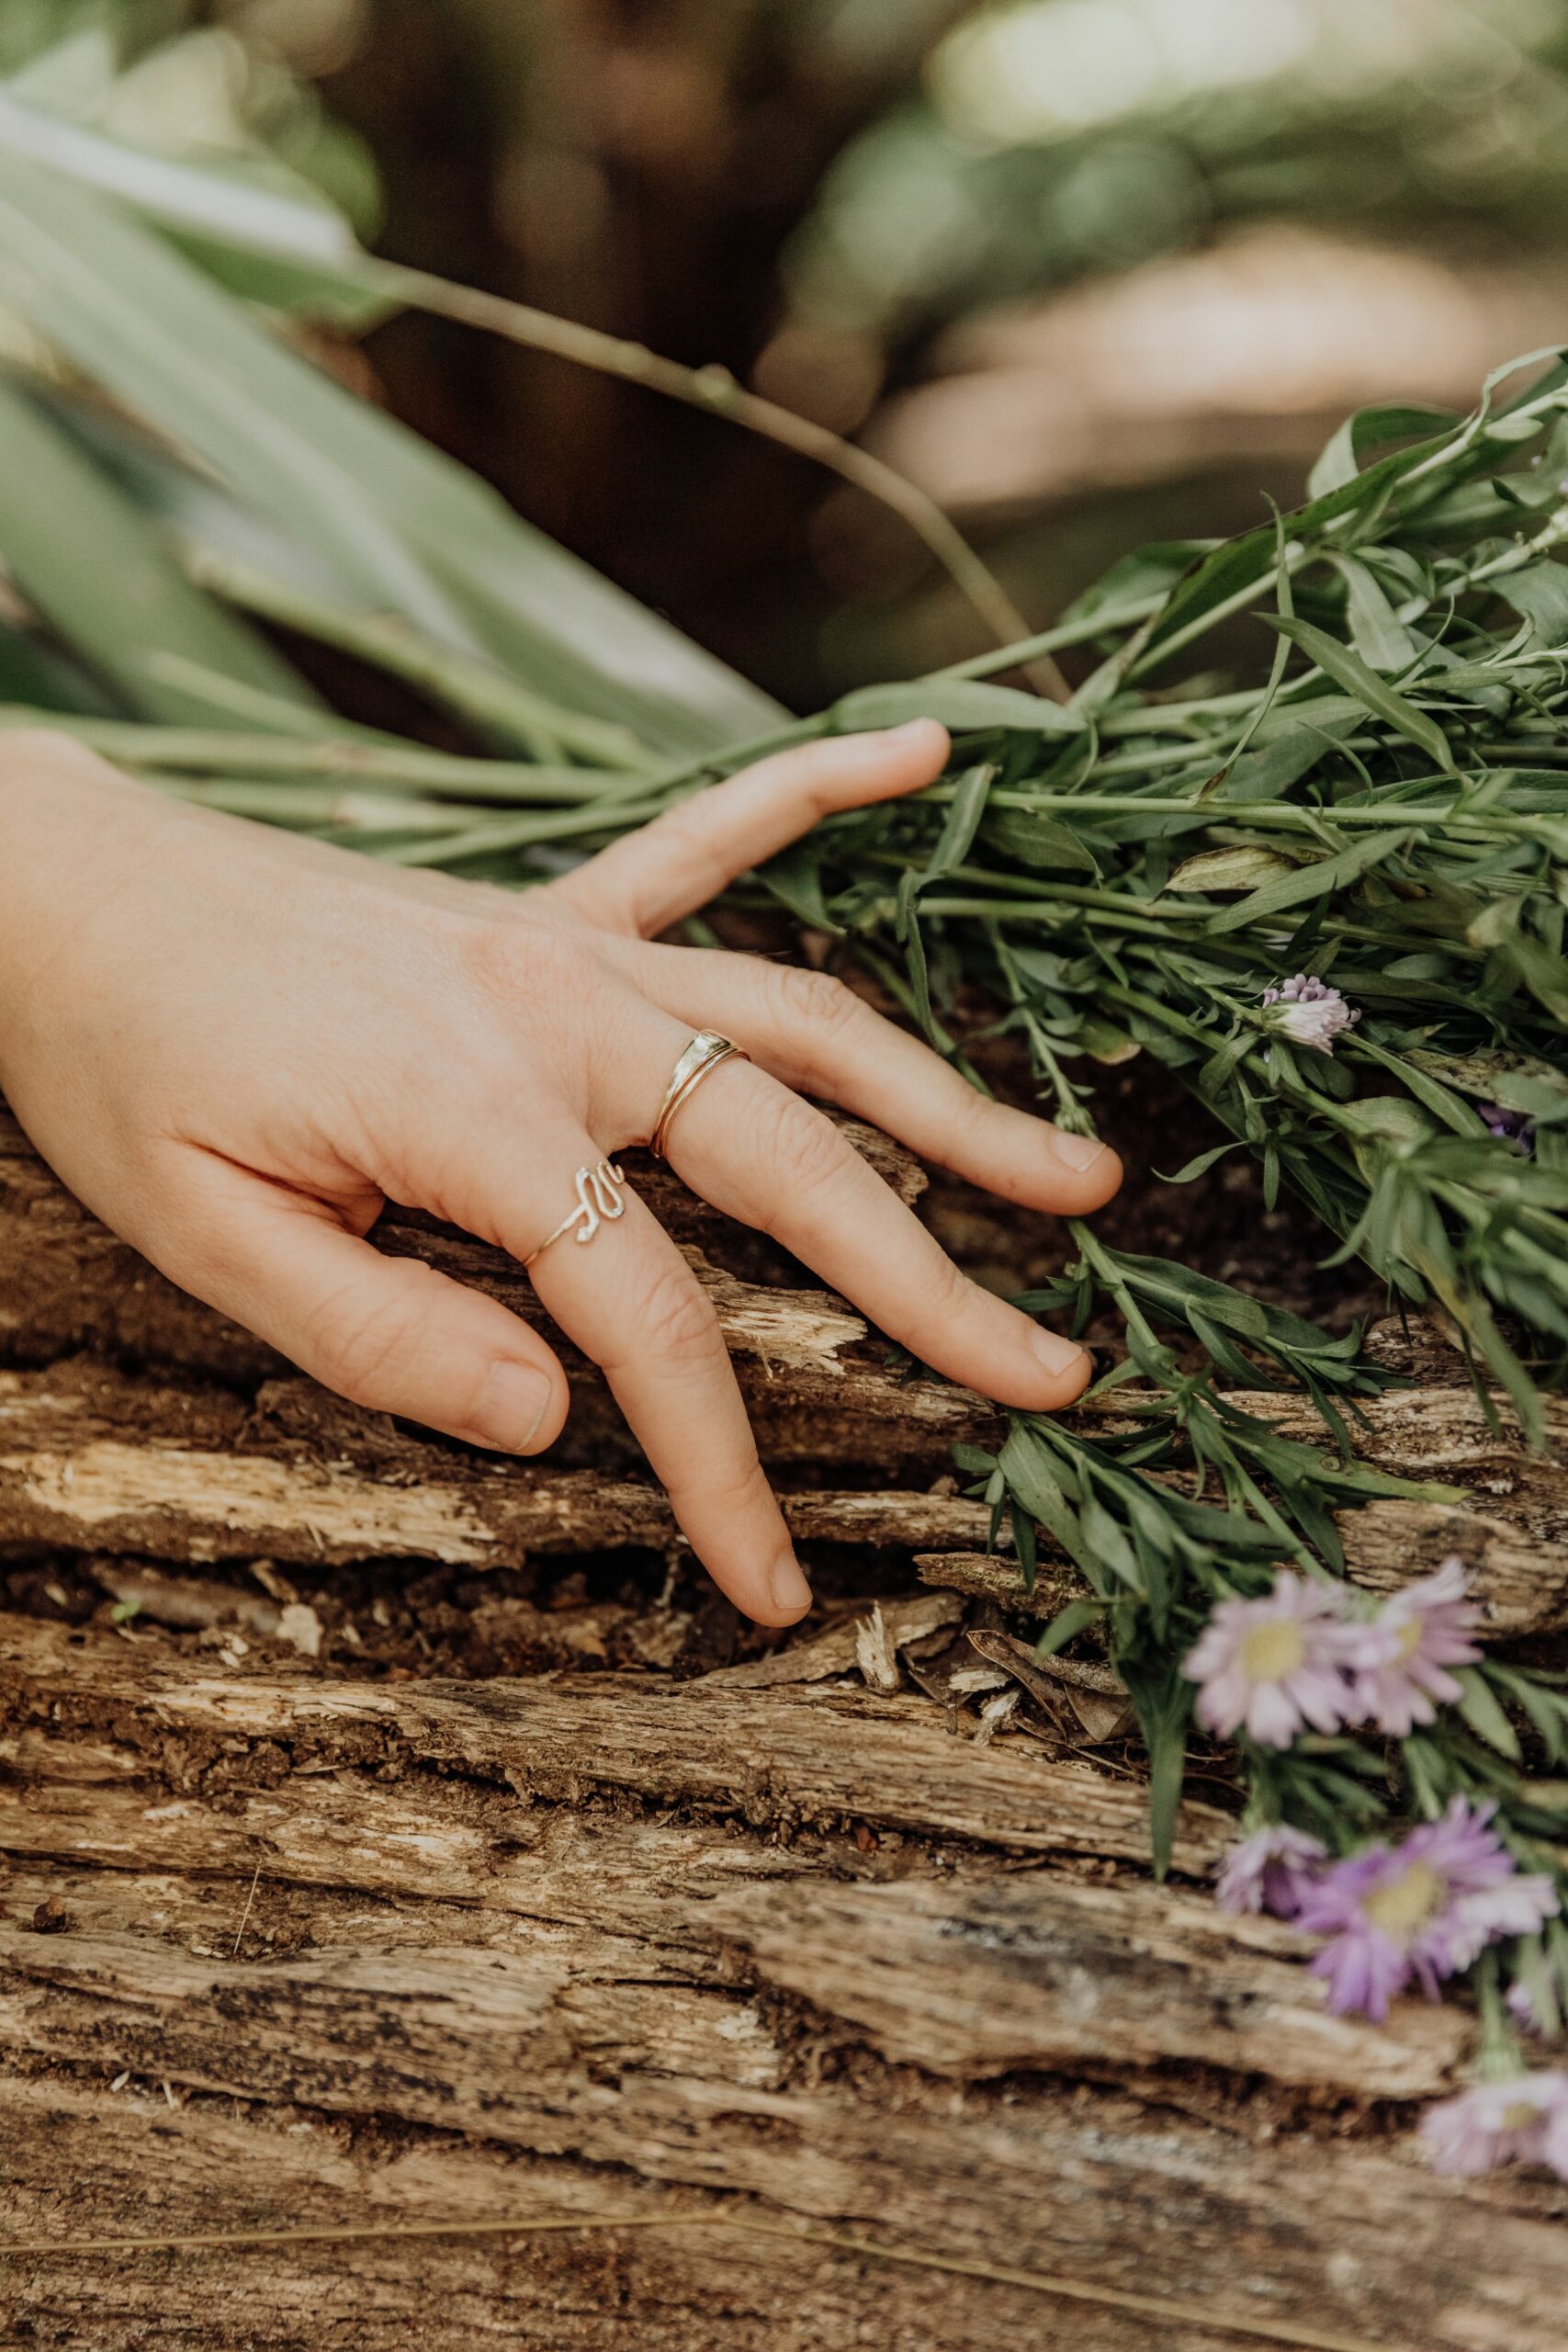
Encouraging Natural Poses
- Dialogue and Interaction: Engage in light conversation with your subject or ask them to interact with their surroundings. This can help relax them, resulting in more natural expressions.
- Activities: Have your subjects engage in a familiar activity during the shoot. This technique works especially well with children or groups, as it captures their genuine interactions and emotions.
Reading the Subject’s Comfort
- Body Language: Pay attention to your subject’s body language. Make adjustments if they appear uncomfortable or stiff, as comfort often translates into better, more relaxed photographs.
- Adjustments on the Fly: Be ready to change your approach based on the subject's responses. Flexibility can lead to capturing the best moments.
Timing is Everything
- Anticipating Moments: Learn to anticipate moments before they happen. This requires observing your subject closely and being ready to capture the right expression or interaction as it occurs.
- Continuous Shooting Mode: Utilize your camera’s continuous shooting mode to capture sequences of expressions. This increases your chances of getting that perfect shot amidst fleeting expressions.
The Role of Light in Capturing Mood
- Light Influences Emotion: Consider how the direction and quality of light can affect the mood of your portrait. Soft light can create a tender, intimate feel, while more dramatic light might evoke stronger, more intense emotions.
- Adapting to Changes: Natural light can change rapidly, especially around sunrise and sunset. Adapt your shooting style to these changes to keep the light flattering as the conditions shift.

Conclusion
Mastering natural light photography is about much more than just finding the right time and place—it's about using light to bring out the true essence of your subjects and capture moments that resonate with authenticity and emotion. Throughout this guide, we've explored various techniques, from choosing the best lighting conditions and adjusting your camera settings to positioning your subjects and capturing genuine expressions.
Remember, the best way to improve is by practice. Don’t be afraid to experiment with different types of natural light, play around with camera settings, and try new approaches to interacting with your subjects. Each photo shoot is a learning opportunity, and every piece of knowledge you gain brings you one step closer to capturing those perfect, whimsical, and memorable shots.